TIG Welding Steel Settings: Fine-Tune Your Arc for Stronger Welds

Disclosure: This post contains affiliate links. As an Amazon Associate, I earn from qualifying purchases—at no extra cost to you.
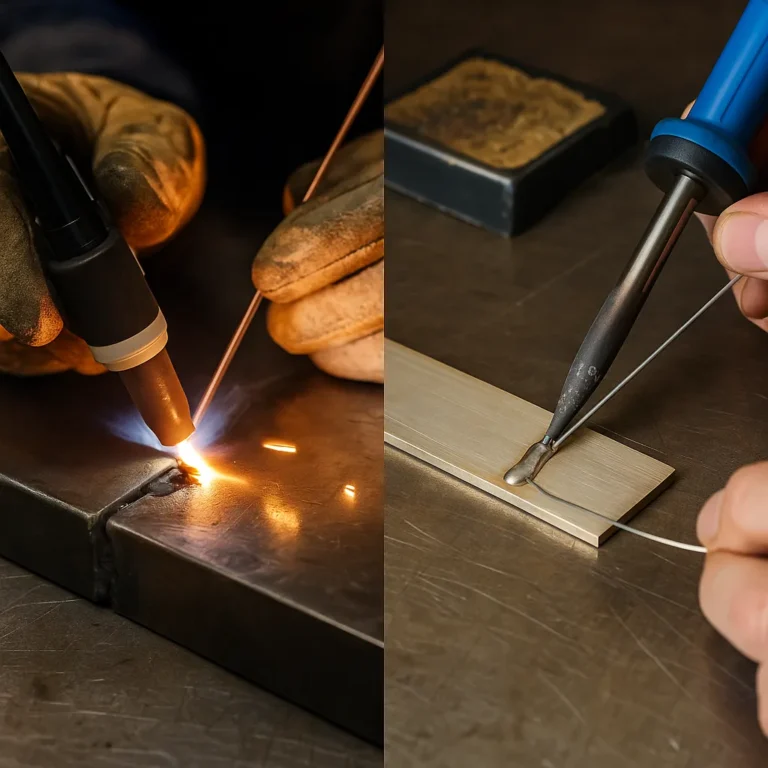
When done right, TIG welding steel offers a high level of precision, control, and cleanliness. But achieving those strong, beautiful welds depends heavily on dialing in the correct settings. Whether you’re working with mild or stainless steel, getting your amperage, gas flow, and tungsten setup right is essential for professional-quality results. This guide walks through the key TIG welding settings for steel and how to adjust them depending on your material thickness and application.
Recommended Amperage for Steel Thickness
The amperage you need depends largely on the thickness of the steel you’re welding. As a general rule of thumb, you’ll need about 1 amp per 0.001 inch of steel. For example, if you’re welding 1/8″ (0.125 inch) thick steel, 125 amps is a good starting point. For thinner metal, lower your amperage to avoid blowing through the material. Conversely, thicker steel will require more heat, but be cautious not to exceed the duty cycle of your machine.
For mild steel, DCEN (Direct Current Electrode Negative) is the standard polarity. Most applications fall in the 80 to 150 amp range, making a 200-amp TIG welder more than adequate for most steel jobs.
Gas Type and Flow Rate
Shielding gas plays a critical role in TIG welding. For steel, 100% argon is most commonly used. If you’re welding thicker steel or need deeper penetration, an argon/helium mix may also be appropriate.
Set your gas flow between 15 and 20 cubic feet per hour (CFH). Too low and you risk contamination, too high and you’ll cause turbulence that can introduce oxygen into the weld pool. Always ensure there are no leaks in your hose connections and that your gas nozzle is free of debris.
Tungsten Selection and Preparation
When TIG welding steel, use 2% thoriated or 2% lanthanated tungsten. A 3/32-inch tungsten is typically sufficient for up to 150 amps. For more precise work or lower amperage, a 1/16-inch tungsten may be a better fit.
Always grind your tungsten to a sharp point using a dedicated grinding wheel. The sharper the point, the more focused your arc will be, which is ideal for clean, narrow beads on steel. Rounded or blunt tips will cause a wandering arc, leading to inconsistent penetration and aesthetics.
Electrode and Filler Rod Recommendations
Depending on the cleanliness of your base metal, use ER70S-2 or ER70S-6 filler rods for mild steel. ER308L is a common choice for stainless steel. Match your rod diameter to your tungsten and base metal thickness—typically, 1/16″ or 3/32″ rods will cover most projects.
When adding filler, maintain a consistent rhythm and feed method. Dip the rod into the leading edge of the weld puddle and withdraw quickly. Holding the rod in place too long will cause it to melt unevenly or ball up.
Fine-Tuning for Quality Results
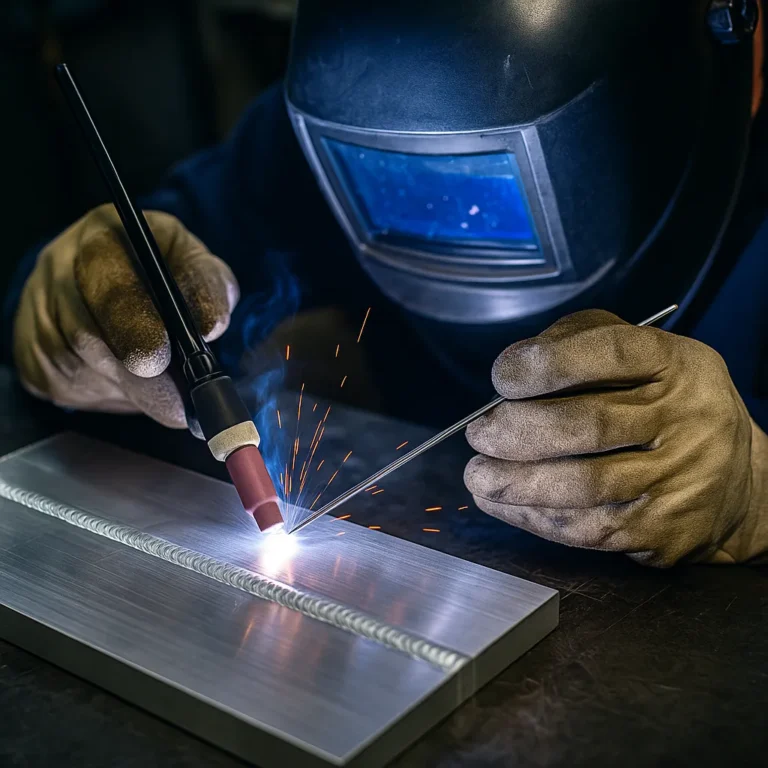
Control is everything in TIG welding. Maintain a tight arc length—ideally the same distance as the diameter of your tungsten. A long arc can lead to excessive heat and oxidation. Also, keep a steady travel speed to ensure even bead formation and proper fusion.
If available, use a foot pedal or fingertip remote to dynamically adjust amperage while you weld. This becomes especially useful when dealing with variable material thickness or heat-sensitive components.
Conclusion
Mastering TIG welding settings for steel takes some experimentation, but the payoff is well worth the effort. With the right amperage, gas flow, tungsten, and technique, you can produce durable, high-quality welds with minimal cleanup. Stick to clean base metal, use proper filler, and let your machine do the precision work it was built for.