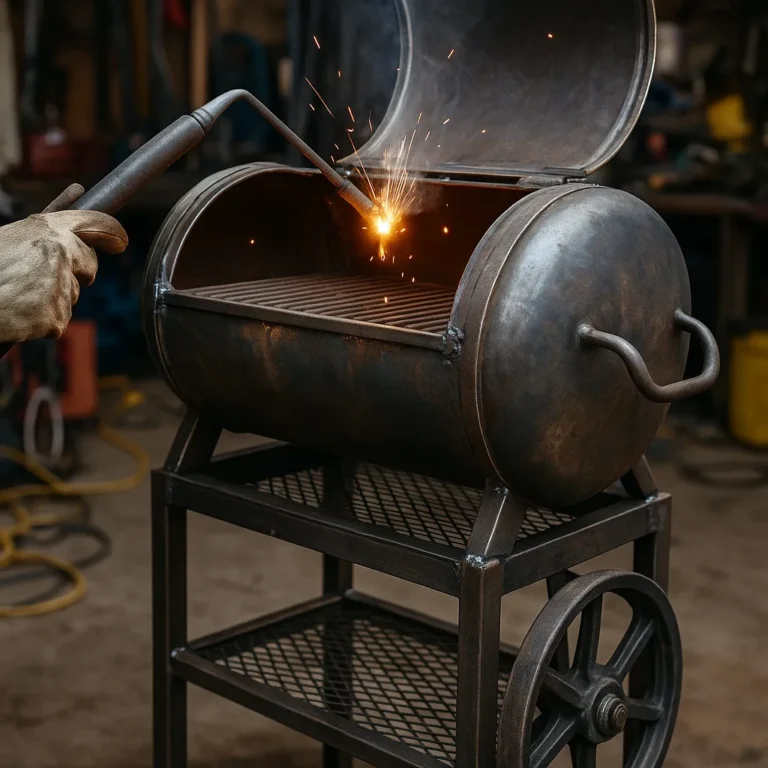
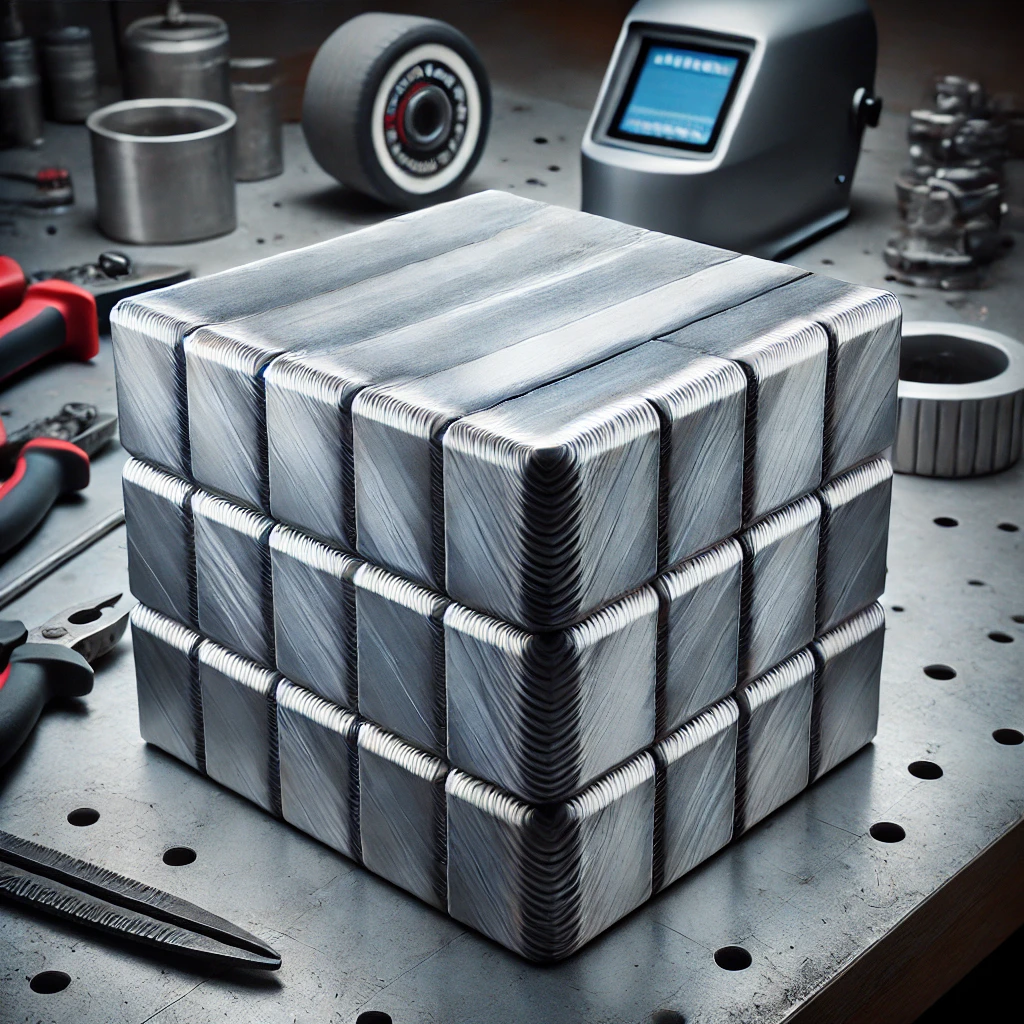
Mastering Precision with a Welding Cube Project
Disclosure: This post contains affiliate links. As an Amazon Associate, I earn from qualifying purchases—at no extra cost to you.
If you’re looking for a welding project that sharpens your skills and puts your precision to the test, a welding cube project is the perfect challenge. This seemingly simple structure requires clean cuts, precise angles, and flawless welds. Whether you’re a beginner aiming to improve your fundamentals or an experienced welder seeking to refine your craft, the welding cube is a rewarding and practical project.
Why Build a Welding Cube?
A welding cube is more than just a metal box — it’s a true test of your ability to measure, cut, and weld with precision. The cube helps welders develop better control over bead consistency, heat distribution, and corner welding techniques. Plus, it’s a great decorative piece or desk ornament once finished.
Materials and Tools You’ll Need
Materials
- Steel plates or flat bar (typically 3″ x 3″ or 4″ x 4″)
- Welding rods or wire (depending on your welder type)
- Clamps for securing pieces
- Sanding discs or wire brush for cleanup
Tools
- MIG or TIG welding machine
- Angle grinder for cutting and smoothing
- Measuring tools (ruler, square) for accurate cuts
- Protective gear (gloves, helmet, and apron)
Step-by-Step Guide to Building a Welding Cube
Step 1: Measure and Cut the Steel Plates
Start by measuring and marking your steel plates. Each side of your cube should be identical in size for a symmetrical finish. Use an angle grinder or cutting saw to achieve clean, straight cuts. Precision at this stage is crucial for a seamless final product.
Step 2: Prepare the Edges
Clean the edges of your plates with a grinder or wire brush to remove any rust, dirt, or imperfections. This ensures better weld penetration and a stronger bond.
Step 3: Tack Weld the Structure
Begin by tack welding the corners of the plates to form the cube’s frame. Tack welds should be small and spaced evenly to hold the structure in place without excessive heat buildup.
Step 4: Full Weld Each Seam
Once your tack welds secure the cube, proceed with full welds. Weld one seam at a time, alternating sides to minimize warping. Focus on achieving smooth, consistent beads for a professional finish.
Step 5: Clean the Welds
Use an angle grinder to clean and smooth the welds. A sanding disc can help achieve a uniform look. For a polished finish, consider buffing the surface or adding a clear protective coating.
Creative Uses for Your Welding Cube
The welding cube can be more than just a skills project. Here are some practical and decorative ideas for your finished piece:
- A stylish paperweight or desk ornament
- A base for mounting small sculptures or metal art
- A practice tool for testing welding techniques or finishes
Conclusion
A welding cube project may look simple, but mastering this design is a fantastic way to refine your welding skills. By practicing precise cuts, clean welds, and professional finishing techniques, you’ll build confidence and elevate your craftsmanship. Whether you display it proudly in your workshop or gift it as a conversation piece, a well-made welding cube is a testament to skill and precision.
Related Articles You Might Find Helpful
Here are some helpful guides to expand your welding skills and project ideas: