Build a Sturdy and Stylish Stool with Welding

Disclosure: This post contains affiliate links. As an Amazon Associate, I earn from qualifying purchases—at no extra cost to you.
Creating your own custom stool through welding is a rewarding project that combines functionality with creativity. Whether you’re enhancing your garage workspace, adding unique seating to your home, or just sharpening your welding skills, a stool welding project is a fantastic endeavor. With the right materials, techniques, and a bit of inspiration, you can create a durable and eye-catching piece that’s built to last.
Planning Your Stool Welding Project
Before firing up your welder, it’s essential to map out your design. Consider the purpose of your stool — will it be for indoor seating, outdoor use, or part of your workshop setup? Choosing the right materials and structure is key to ensuring stability and durability.
Materials You’ll Need
- Steel tubing or angle iron for the frame
- A metal plate or wood for the seat
- Welding machine (MIG or TIG recommended)
- Grinder for smoothing edges
- Measuring tape and marking tools
- Clamps to hold parts in place
- Protective gear (gloves, helmet, and apron)
Design Tips
- For added comfort, consider a round seat with a slight curve.
- Reinforce the legs with crossbars to improve stability.
- If your stool will support heavy weight, use thicker tubing for the frame.
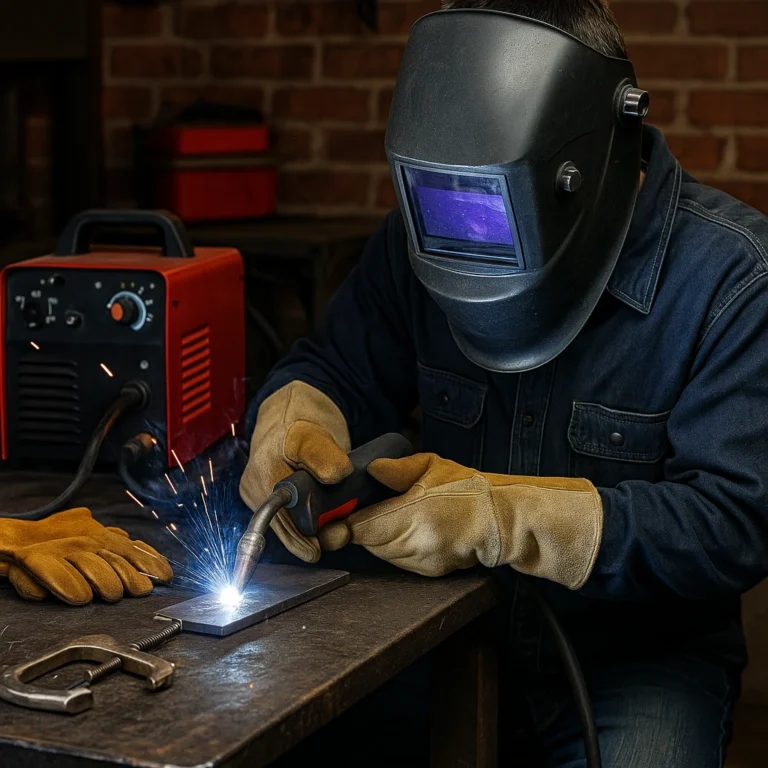
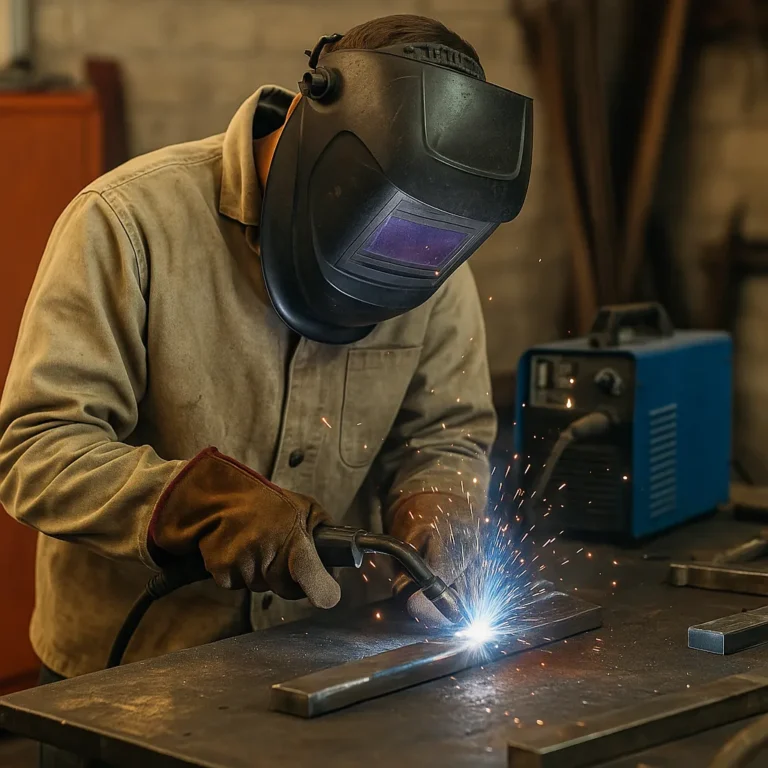
Step-by-Step Welding Process
Step 1: Measure and Cut Your Materials
Precision is key. Start by measuring and cutting your steel tubing or angle iron. Typical stool dimensions are around 18-24 inches tall with a seat diameter of 12-14 inches. Mark your cuts carefully and use a grinder to smooth rough edges.
Step 2: Tack Weld the Frame
Begin by tack welding the legs to the seat frame. Tack welding secures the structure in place before performing full welds, allowing you to adjust angles if needed. Use clamps to hold each piece steady during this step.
Step 3: Weld the Joints
Once the frame is stable, proceed with full welds. Focus on creating smooth, even beads for strength and visual appeal. If you’re welding crossbars for stability, measure carefully to ensure they sit at the same height on each side.
Step 4: Attach the Seat
For a metal seat, weld it directly to the frame. If you’re adding a wooden seat, drill mounting holes in the frame, then secure the seat with bolts. This method offers versatility if you ever wish to replace the seat in the future.
Step 5: Grind and Finish
Use a grinder to smooth out welds and sharp edges. Finish your stool with paint, powder coating, or a protective sealant to prevent rust and add a professional look.
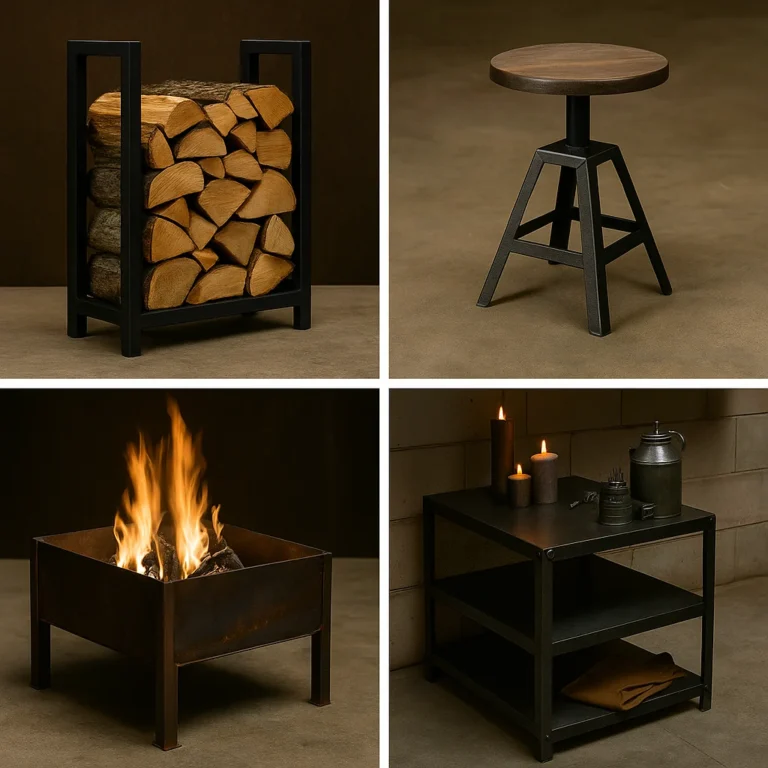
Customization Ideas for Your Stool
Adding personality to your stool can turn a simple project into a conversation piece. Here are a few creative ideas:
- Use reclaimed metal for a rustic, industrial look.
- Weld initials or decorative designs into the frame.
- Experiment with colors — bright hues can transform your stool into a statement piece.
Conclusion
A stool welding project is an excellent way to build practical welding skills while creating something useful and stylish. Whether you’re crafting a sleek garage stool, a workshop essential, or a decorative piece for your home, this project offers endless customization possibilities. With some planning, precise welding, and creative flair, you’ll have a custom-made stool that’s built to last and sure to impress.
Related Articles You Might Find Helpful
Here are some helpful guides to expand your welding skills and project ideas: