Create a Unique Turtle Welding Project for Your Garden or Home
Disclosure: This post contains affiliate links. As an Amazon Associate, I earn from qualifying purchases—at no extra cost to you.
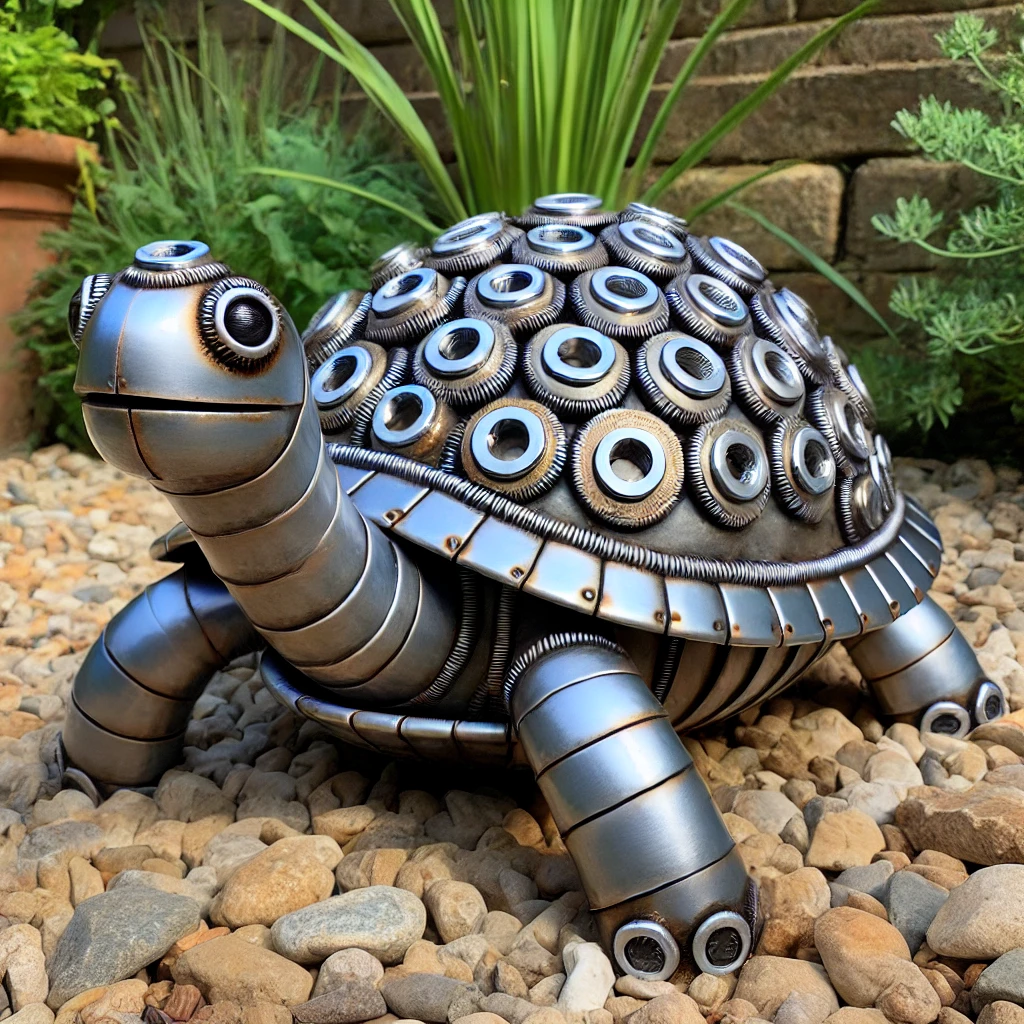
Welding offers endless creative possibilities, and a turtle sculpture is a fantastic project for both beginners and seasoned metalworkers. Combining practical welding skills with artistic flair, a welded turtle can become a charming garden ornament, a decorative centerpiece, or even a unique gift. This guide will walk you through the steps to create a sturdy, stylish turtle welding project.
Planning Your Turtle Welding Project
Before grabbing your welder, it’s crucial to have a solid design plan. A turtle’s shape — round shell, sturdy legs, and a distinct head — offers plenty of creative freedom.
Materials You’ll Need
- Metal bowl or dome for the shell
- Nuts, bolts, or washers for turtle scales or texture
- Metal rods or rebar for legs and neck
- Scrap metal pieces for facial features (eyes, mouth, etc.)
- Welding machine (MIG or TIG recommended)
- Grinder for smoothing edges
- Clamps to hold parts in place
- Protective gear (gloves, helmet, and apron)
Design Tips
- Use heavy-duty materials for outdoor sculptures to improve durability.
- For a rustic look, use aged or recycled metal pieces.
- Consider adding a hinged shell lid for a fun storage option.
Step-by-Step Welding Process
Step 1: Shape the Shell
Start by selecting a metal bowl or dome that will serve as the turtle’s shell. For added texture, weld washers, bolts, or scrap pieces to create a scaly pattern. Tack weld each piece before committing to full welds.
Step 2: Create the Legs and Neck
Cut metal rods or rebar to shape the turtle’s legs and neck. Each leg should have a slight bend to mimic a natural stance. Position the legs evenly and tack weld them to the underside of the shell before fully welding them in place.
Step 3: Build the Turtle’s Head
For the head, weld together smaller metal pieces such as nuts, washers, or even repurposed tools to form expressive facial features. Attach the head to the neck securely with a strong weld.
Step 4: Assemble and Secure the Pieces
With all components ready, ensure they align properly before finalizing your welds. Clean your joints with a grinder to improve strength and achieve a cleaner finish.
Step 5: Add Finishing Touches
Polish the metal for a sleek finish or apply a protective sealant for outdoor use. For extra charm, consider painting your turtle sculpture with earthy greens, rustic browns, or vibrant accents.
Creative Ideas to Personalize Your Turtle
Welding a turtle sculpture allows for endless customization options:
- Add small LED lights inside the shell for a glowing garden ornament.
- Use gears or scrap parts to give your turtle a steampunk look.
- Incorporate hooks on the turtle’s shell to double it as a practical key holder or wall decoration.
Conclusion
A turtle welding project blends artistic creativity with practical welding skills. Whether you’re enhancing your garden, crafting a personalized gift, or simply sharpening your welding abilities, this project is an exciting and rewarding endeavor. By combining durable materials with creative designs, your turtle sculpture will be a long-lasting piece of functional art.
Related Articles You Might Find Helpful
Here are some helpful guides to expand your welding skills and project ideas: