Build a Metal Snowman: A Beginner-Friendly Welding Project
Disclosure: This post contains affiliate links. As an Amazon Associate, I earn from qualifying purchases—at no extra cost to you.
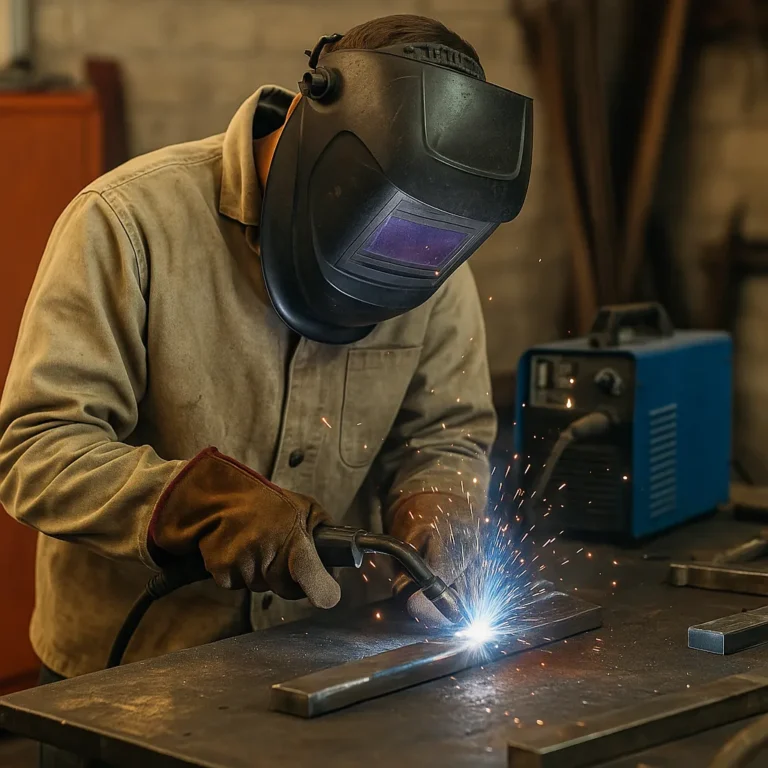
Creating a metal snowman is a fun and rewarding welding project perfect for beginners. With just a few materials and some basic welding skills, you can craft a charming snowman that will last through many winters.
Materials You’ll Need
- Steel rods or rebar (for structure)
- Metal spheres or circular steel plates (for the snowman’s body)
- Metal nuts or washers (for eyes and buttons)
- Scrap metal pieces (for hat, scarf, or other details)
- Welding machine (MIG or Stick recommended)
- Protective gear (gloves, helmet, jacket)
- Grinder and wire brush for finishing
- Paint for a polished look (optional)
Step 1: Prepare Your Materials
Start by cutting your steel pieces to size:
- Three circular steel plates or spheres in different sizes (small, medium, large) for the snowman’s body.
- A steel rod for stability and structure.
- Smaller pieces for decorative features like buttons, eyes, and a top hat.
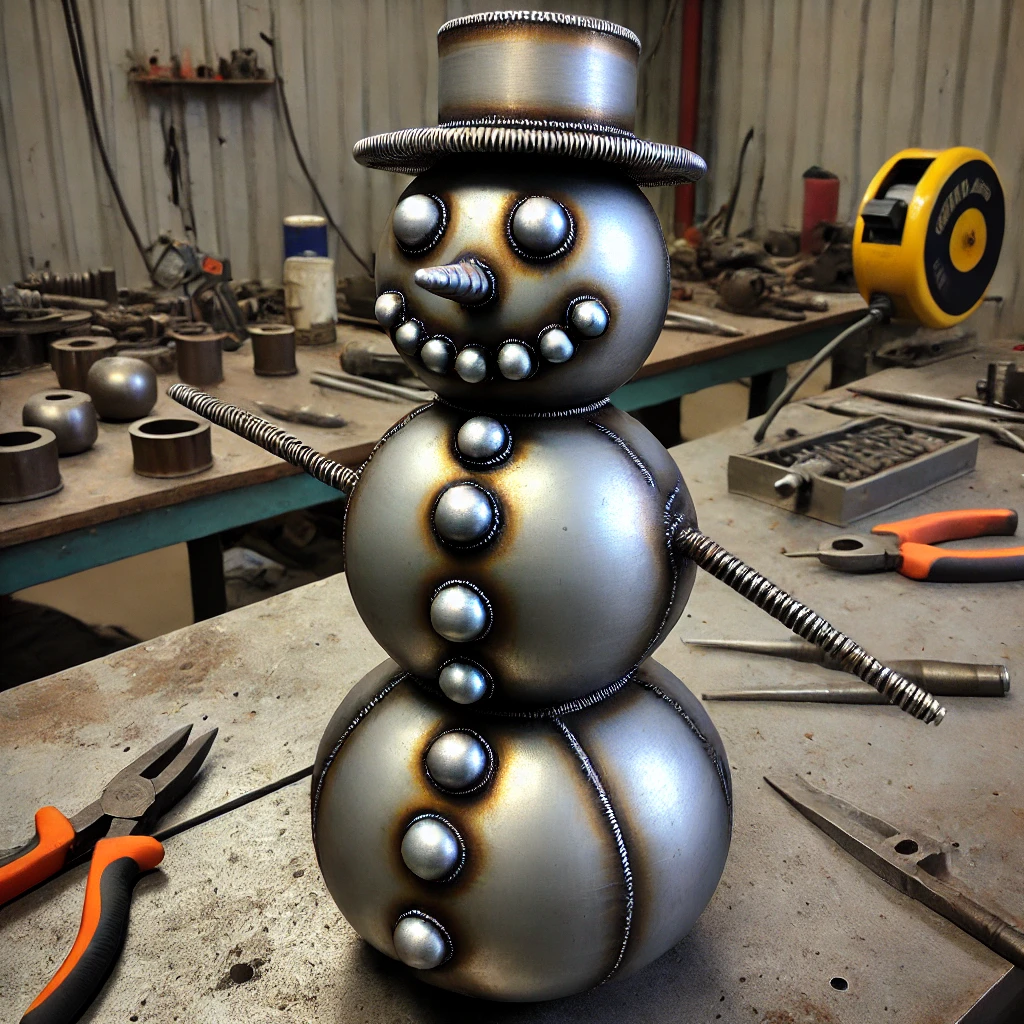
Step 2: Assemble the Snowman’s Body
- Weld the three steel plates or spheres together, starting with the largest at the bottom and the smallest on top.
- Attach a steel rod at the back or through the center for extra support.
Step 3: Add Features
- Weld metal washers or nuts for the snowman’s eyes and buttons.
- Create a carrot nose by shaping a small metal cone.
- Craft a top hat using scrap metal pieces or an old metal cap.
Step 4: Final Touches
- Use a grinder to smooth any sharp edges.
- Clean the entire snowman with a wire brush to remove rust or debris.
- Paint the snowman for a vibrant, weather-resistant finish if desired.
Step 5: Display Your Metal Snowman
Once your creation is finished, find a perfect spot in your yard, workshop, or as part of a winter-themed display.
Conclusion
This metal snowman welding project is an excellent way to practice your welding skills while creating a fun decorative piece. It’s simple enough for beginners yet leaves room for creativity in design and details.