How to TIG Weld Aluminum for Beginners: A Simple Starting Guide

Disclosure: This post contains affiliate links. As an Amazon Associate, I earn from qualifying purchases—at no extra cost to you.
TIG welding aluminum might seem intimidating at first, but with the right setup and understanding of the basics, beginners can quickly get comfortable with this rewarding welding process. Aluminum’s unique properties require a bit more finesse than steel, but it’s entirely approachable with the proper technique and preparation.
Why TIG Welding Is Ideal for Aluminum
TIG (Tungsten Inert Gas) welding is well-suited for aluminum because it provides excellent control and produces clean, strong welds. Unlike MIG welding, TIG allows for precise heat input, which helps prevent warping and burn-through—common issues when working with thin aluminum.
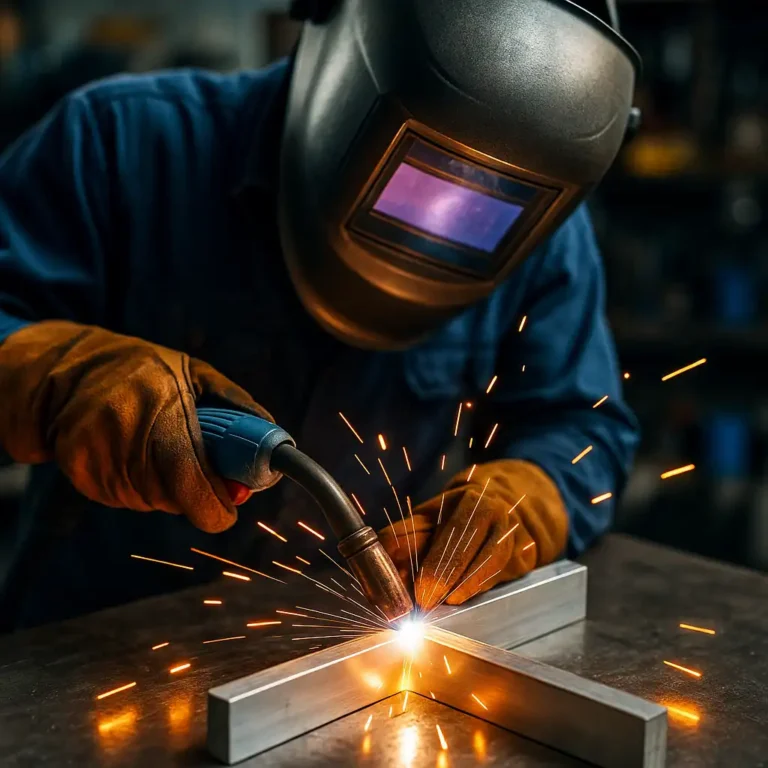
Equipment Needed to Get Started
To TIG weld aluminum successfully, you’ll need:
- AC-capable TIG welder – AC (alternating current) is required for aluminum.
- Tungsten electrode – Use pure tungsten or zirconiated tungsten (often white-tipped).
- Filler rod – ER4043 or ER5356 is commonly used for aluminum.
- Argon gas – 100% argon is ideal for shielding aluminum welds.
- Protective gear – Auto-darkening welding helmet, gloves, and fire-resistant clothing.
Optional but helpful:
- Foot pedal for fine control of amperage
- Gas lens for better shielding gas coverage
Preparing Aluminum for TIG Welding
Aluminum must be thoroughly cleaned before welding. Use a stainless-steel wire brush dedicated only to aluminum. Then wipe the material with acetone to remove oil and surface contaminants. Clean filler rods are also used to avoid introducing impurities into the weld.
Technique and Settings for Beginners
Welder Settings:
- Amperage: Start with around 1 amp per 0.001 inch of material thickness.
- AC Balance: Set the electrode to around 70–80% negative for cleaning action.
- Frequency: A frequency of 100–120 Hz works well for control and bead appearance.
Welding Technique:
- Torch Angle: Hold the torch at a 10–15 degree angle from vertical.
- Arc Length: Keep it short, ideally the same as the diameter of the tungsten.
- Filler Rod Timing: Dip the rod as you move forward, feeding it gently and steadily into the weld puddle.
Avoid overheating the base metal. Aluminum does not change color before melting, so be careful not to blow through it. Keep your torch hand steady and move consistently along the joint.
Common Challenges and How to Overcome Them
- Contaminated Welds: Always clean both the base metal and filler rod thoroughly.
- Lack of Fusion: Use enough heat to penetrate without sitting too long in one spot.
- Cracking: Choose the correct filler rod and avoid excessive heat buildup.
Patience and practice are key. Don’t rush—aluminum TIG welding improves significantly with experience.
Conclusion
Learning how to TIG weld aluminum as a beginner is a valuable skill that opens up many possibilities in fabrication, repair, and art. With the right tools, clean technique, and careful preparation, even newcomers can create strong, beautiful welds. Stay safe, start slow, and focus on consistency to build your confidence.