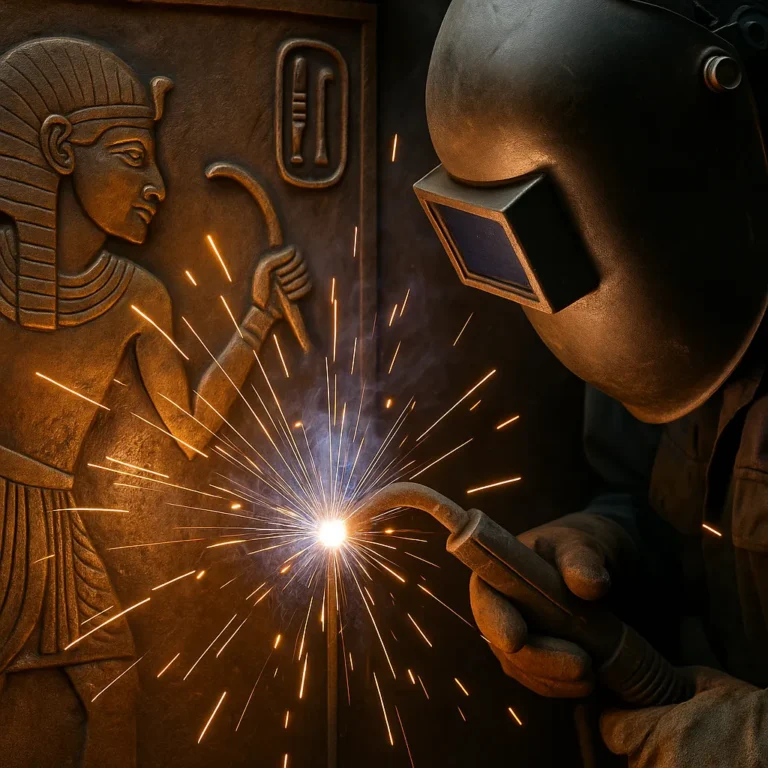
Welding Positions and Techniques: Master Every Angle Like a Pro
Disclosure: This post contains affiliate links. As an Amazon Associate, I earn from qualifying purchases—at no extra cost to you.
Welding is more than just striking an arc—how and where you weld makes a huge difference in the outcome. Whether you’re laying beads on a flat bench or reaching overhead to patch up a frame, mastering different positions and techniques is essential for strong, clean welds.
Each welding position brings its own challenges. And knowing which technique to pair with which setup can save you time, frustration, and costly mistakes. Here’s a breakdown that blends shop-tested advice, real-world scenarios, and tips gathered from experienced welders and community feedback.
The 4 Core Welding Positions (and Why They Matter)
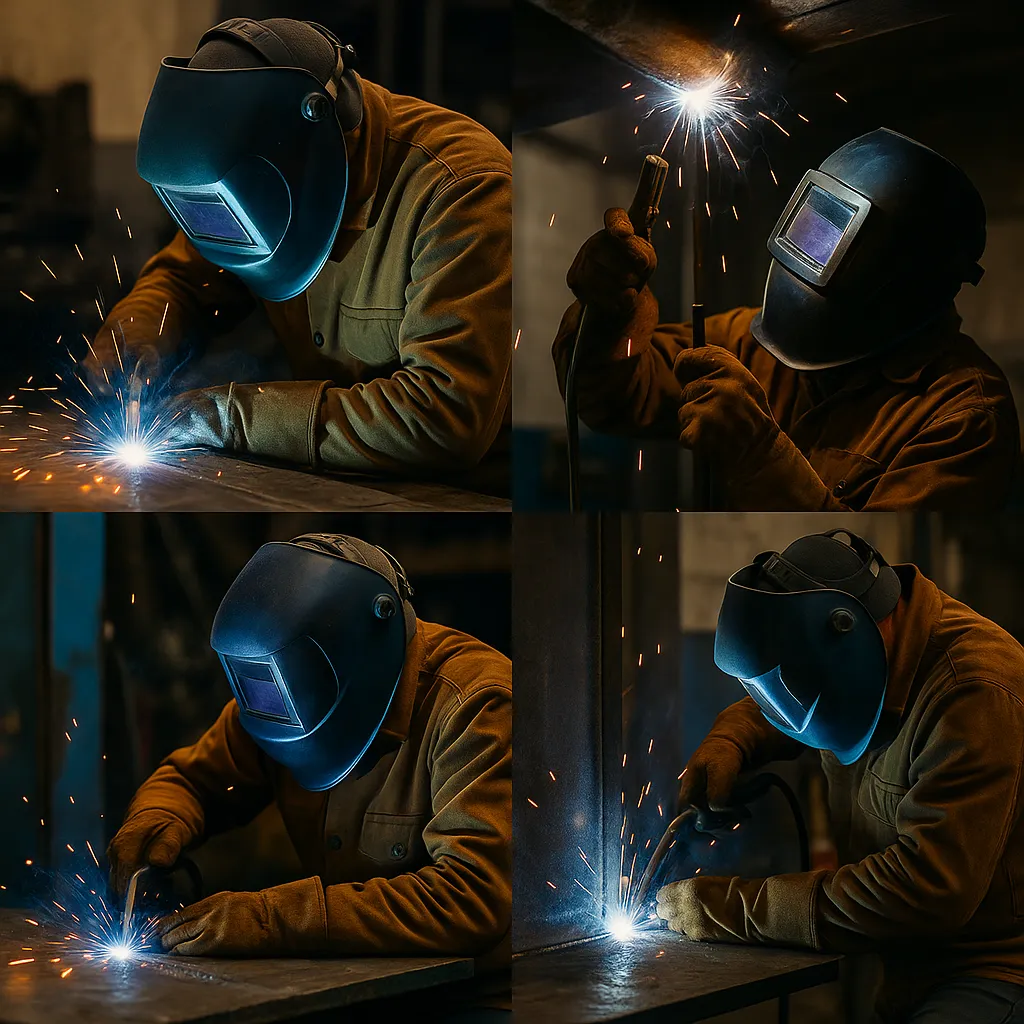
Most welding projects fall into one of four positions: flat, horizontal, vertical, or overhead. Each one affects how your weld behaves—especially how the molten puddle flows.
Flat position is by far the easiest. Gravity works with you, making it ideal for new welders or any situation where you want maximum control and minimal mess.
Horizontal welding requires a bit more finesse. Your bead can sag if your angle or speed is off. This position is common in fabrication jobs and structural work, especially when you’re welding long seams across steel plates.
Vertical and overhead are where things get real. These positions are tougher to master and usually pop up in field welding, pipe work, or repair jobs. Gravity’s no longer your friend, so you’ll need better puddle control, more precision, and the right settings.
Choosing the Right Technique for the Job
Certain welding processes work better depending on the position.
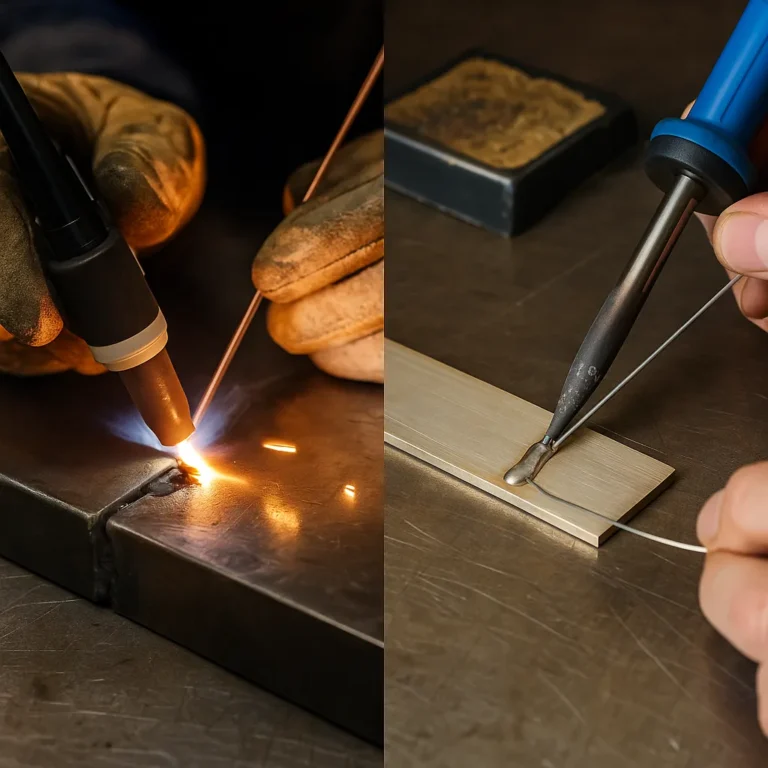
TIG welding is great when you’re working flat or horizontal, especially if you need precise, good-looking welds on thin metals like stainless or aluminum. But when it comes to vertical or overhead? It’s less practical unless you’re highly experienced and your setup’s dialed in.
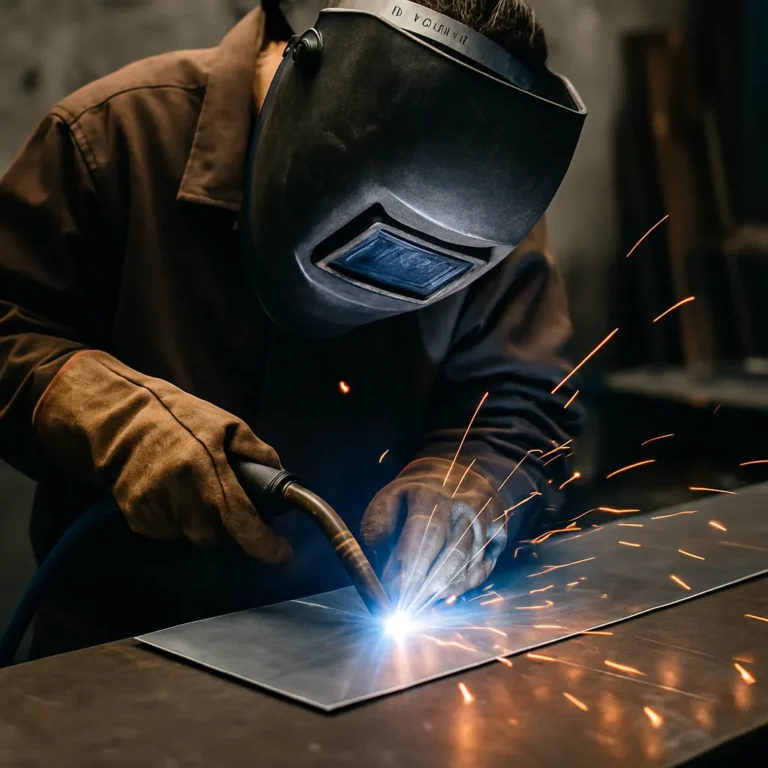
MIG welding is versatile and easier to use in all positions with some adjustments. You can tweak your wire speed and voltage to suit vertical or overhead work. That said, it can get messy—more spatter and less control unless you’ve had practice.
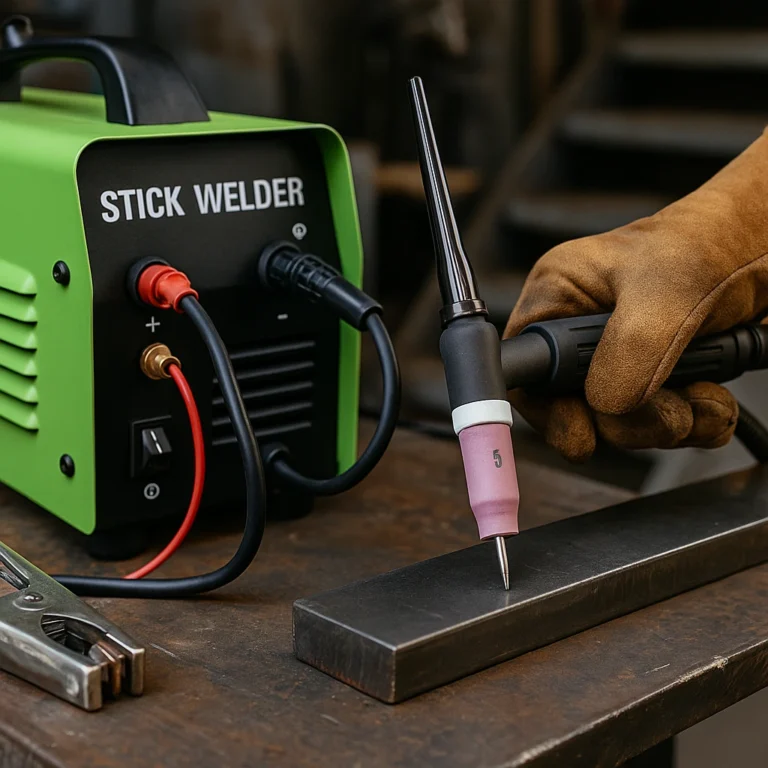
Stick welding is the most position-friendly of the bunch. With the right rods—like 7018 or 6010—you can weld in any direction, even in awkward or hard-to-reach spots. That’s why it’s still the go-to for field repairs, structural work, and pipeline jobs.
Safety and Setup Change with Position
When you’re welding overhead or vertical, your safety gear becomes even more important. Slag, sparks, and metal drops have a way of finding exposed skin. A well-fitted welding jacket, sleeves, and an auto-darkening helmet that stays in place are must-haves.
Welders often suggest using magnetic clamps and adjustable task lights when working in tight corners or odd angles. These small setup tweaks help you keep both hands free and focus on bead control.
Another thing to consider: amperage and travel speed. You’ll likely need to slow down and lower your heat when going vertical-up to avoid burning through. For overhead welds, a tighter arc and a drag angle help keep the puddle from falling.
Learning the Positions Takes Time—but It Pays Off
Flat welds are where everyone starts, but mastering vertical and overhead can take your skills to the next level. Many welding programs introduce these early on because they’re often required for certifications and on-site jobs.
Feedback from welding forums suggests that the best way to improve is by setting up scrap plates at different angles and just practicing. Weld, inspect, adjust. It’s not glamorous—but it’s how you build real technique.
Even hobby welders working out of home garages say it’s worth the effort. Whether you’re fixing a mower deck or fabricating brackets, you never know when you’ll be forced to weld in an awkward position.
Conclusion
Each welding position demands different skills, and pairing them with the right technique can make all the difference. Flat is the easiest to control, while overhead and vertical require more finesse and prep.
Stick welding is the most flexible across positions. MIG works well with the right tweaks, and TIG excels in clean, flat setups where appearance counts. If you’re just getting started, start flat and work up. For seasoned welders, refining your control in tough positions can open the door to more advanced work.


