1g 2g 3g 4g 5g 6g Welding Position Explained Simply
Disclosure: This post contains affiliate links. As an Amazon Associate, I earn from qualifying purchases—at no extra cost to you.
Understanding the 1G to 6G welding positions is essential if you want to move beyond the basics and build serious skill. These positions define how a weld is performed and impact everything from technique and comfort to certification and job readiness.
Whether you’re practicing on plate or pipe, knowing what each position means—and how it affects your setup—can help you grow as a welder with confidence.
What the G-Position Numbers Actually Mean
The “G” in these terms stands for groove welds, and the number before it tells you how the metal pieces are oriented during the weld. Each position builds on the last, increasing in difficulty and requiring more precision and control.
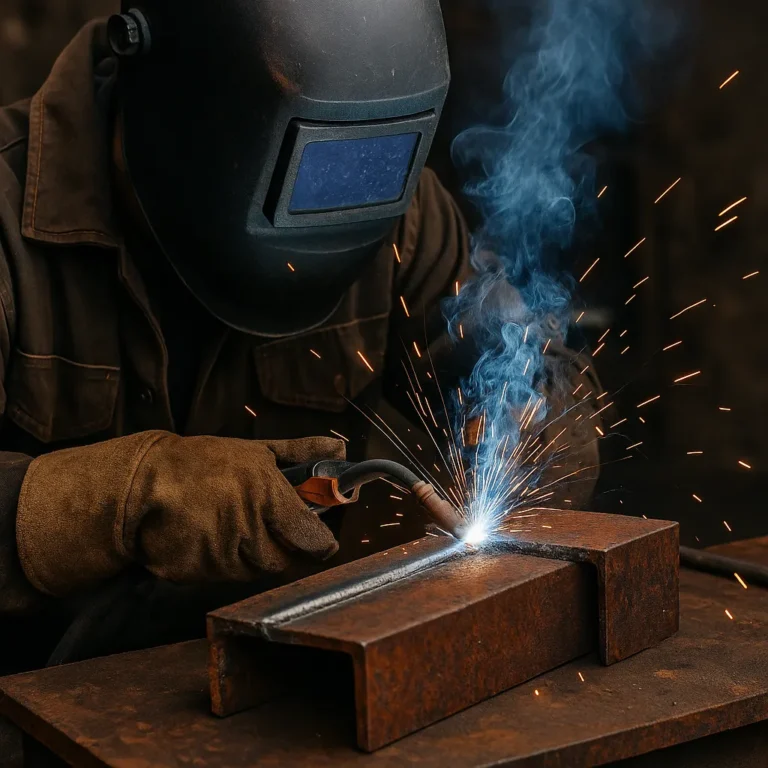
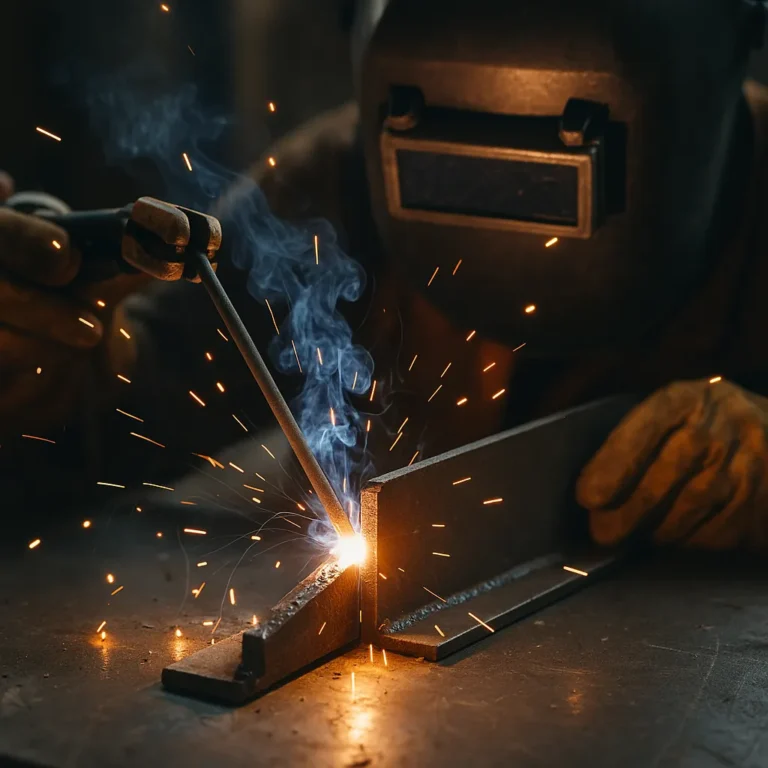
- 1G – A flat weld on a horizontal surface. Easiest position and great for beginners.
- 2G – Horizontal weld on a vertical surface. Slightly more complex but still very manageable.
- 3G – Vertical welds going either up or down. Takes more control and attention to travel speed.
- 4G – Overhead welding. Tougher visibility and spatter direction make it more challenging.
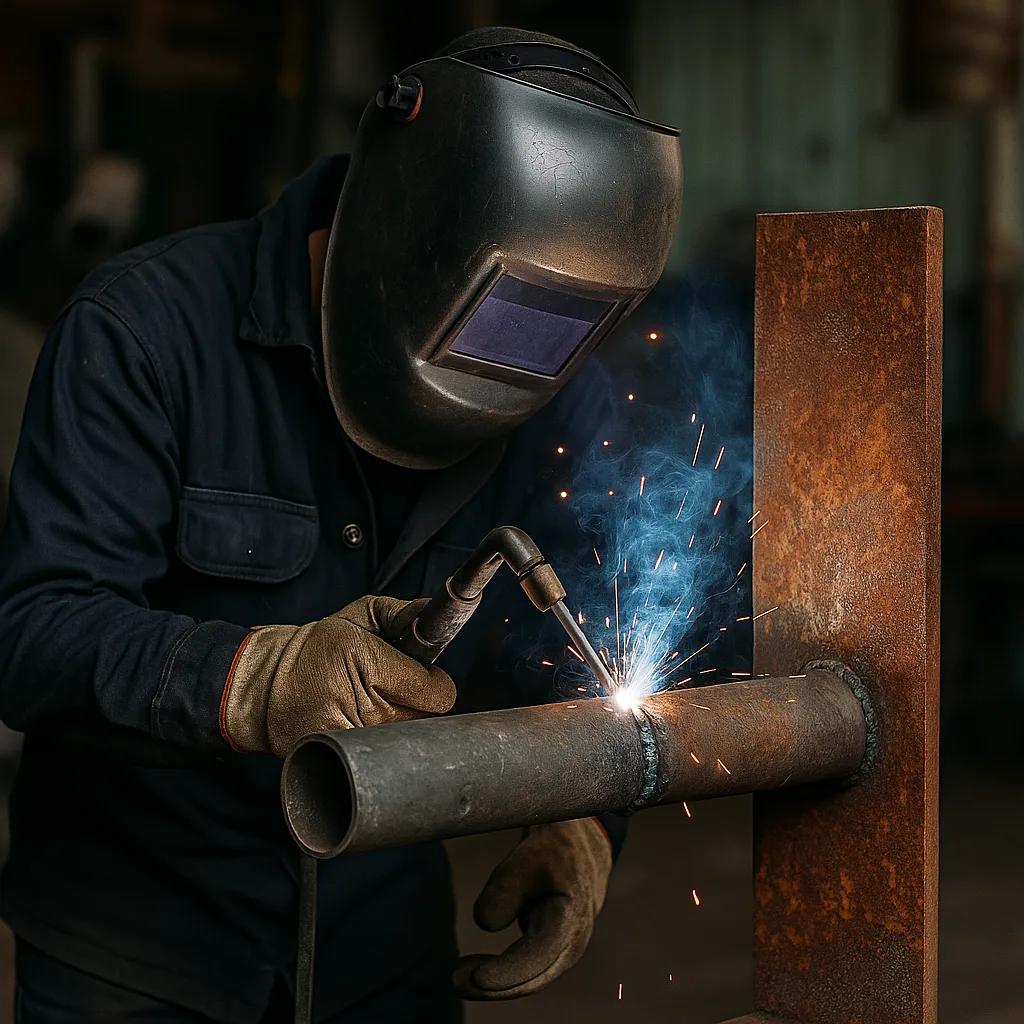
- 5G – Pipe welding on a fixed horizontal pipe. You have to move around the pipe to complete the weld.
- 6G – The most demanding of them all. Welding a pipe fixed at a 45-degree angle with no rotation allowed. This is often used as a certification test.
Each position challenges you in new ways—especially when gravity, visibility, and angles stop working in your favor.
Arc Stability and Weld Control by Position
Arc control becomes more challenging as you move from 1G up to 6G. In flat and horizontal positions like 1G and 2G, your puddle is easy to monitor, and your hands stay steady.
Once you move to 3G vertical welding, you’re fighting gravity. You might use whipping or weaving motions to avoid sagging. In 4G overhead, things get even trickier—you’re working against gravity, and molten metal wants to fall.
Pipe welding (5G and 6G) adds movement to the mix. Instead of repositioning the workpiece, you adjust your body around it. You’ll need to shift your torch or rod angle constantly while maintaining a smooth, consistent bead.
Many welders use 6G pipe tests as a benchmark for skill because you’re dealing with multiple positions in one weld. That’s what makes it so respected in structural, pipeline, and pressure vessel welding.
Training, Certifications, and Setup
Most welders start on 1G and 2G plate to learn the basics—arc length, travel speed, and puddle control. As you improve, instructors introduce vertical and overhead positions to push your technique.
Certifications often include 3G and 4G for structural welding or 6G for pipe welding. These aren’t just about passing a test. They prove you can weld safely and effectively in challenging conditions.
Practicing out-of-position welds at home? Try building a jig or using clamps to mimic different angles. It’s a low-cost way to build muscle memory and test your control before tackling real-world pipe or overhead jobs.
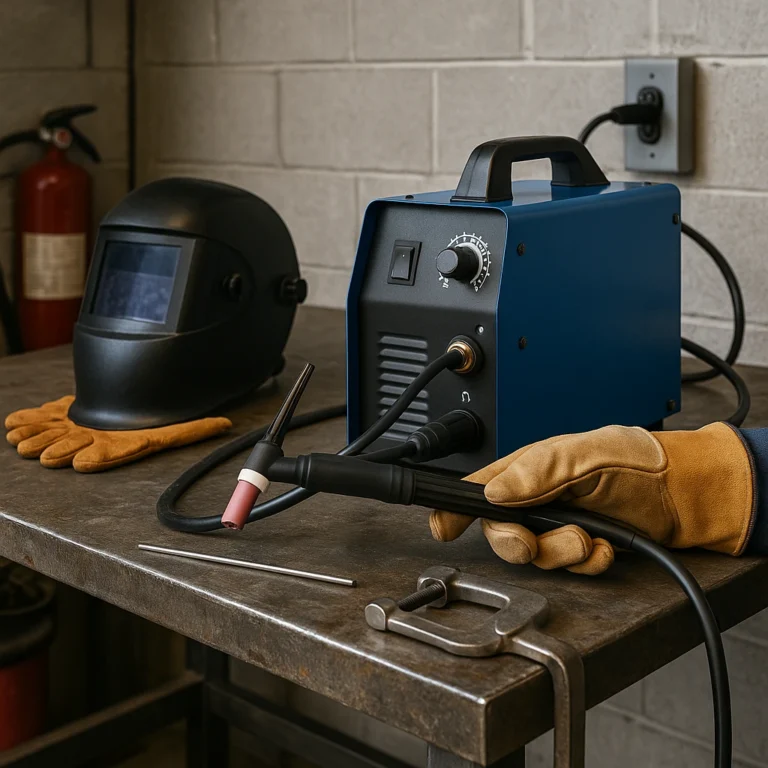
Matching Gear to Position Challenges
Each welding position can benefit from small gear upgrades that make the job easier—and safer.
- Welding helmets with large viewports help with overhead or awkward angles.
- For 3G or 4G, look for machines with adjustable arc force or hot start features to maintain stability.
- Practicing 5G or 6G? Use pipe stands or positioners to lock in the pipe while you focus on technique.
- Don’t skimp on protective clothing when you’re welding overhead. A spatter-resistant jacket and full-coverage gloves go a long way.
Conclusion
The 1G to 6G welding positions each come with their own learning curve, and they’re all worth practicing if you want to sharpen your skills. Starting with 1G lets you build good habits. Working your way up to 6G prepares you for high-paying, high-skill jobs.
Welders who understand these positions—and practice them often—are more adaptable, confident, and ready for almost any job site or cert test.