Welding Position Explanation: A Practical Guide for Beginners and Pros

Disclosure: This post contains affiliate links. As an Amazon Associate, I earn from qualifying purchases—at no extra cost to you.
Whether you’re laying your first bead or working toward certification, understanding welding positions isn’t just helpful—it’s essential. These positions directly affect how your weld turns out, how difficult the job will be, and what kind of gear or technique you’ll need.
Let’s walk through each position and what it means in the real world.
The Basic Positions: Flat, Horizontal, Vertical, and Overhead
Welding positions are labeled with a number and a letter. The number tells you the angle, and the letter (G for groove, F for fillet) refers to the type of weld.
Here’s a breakdown:
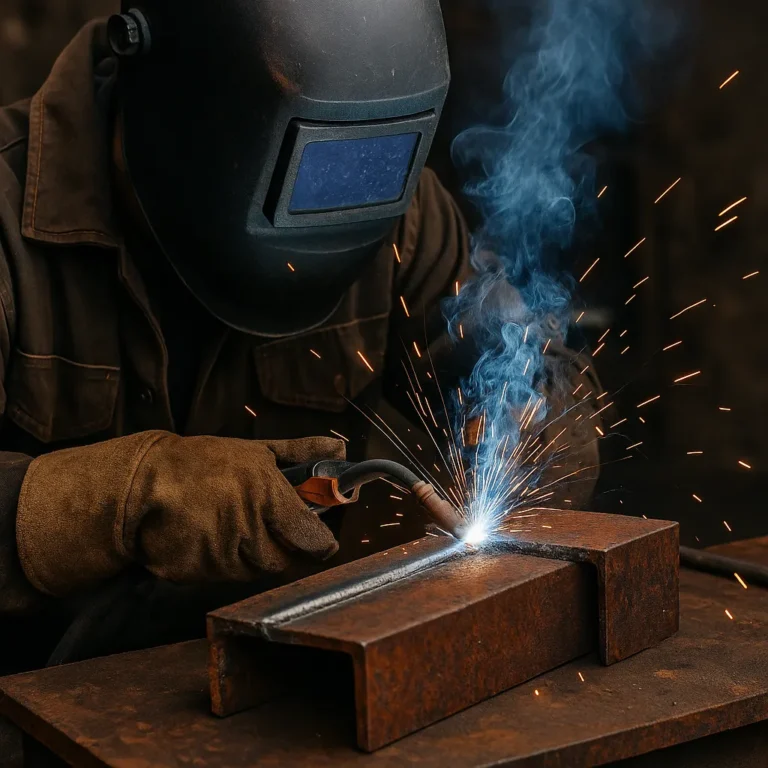
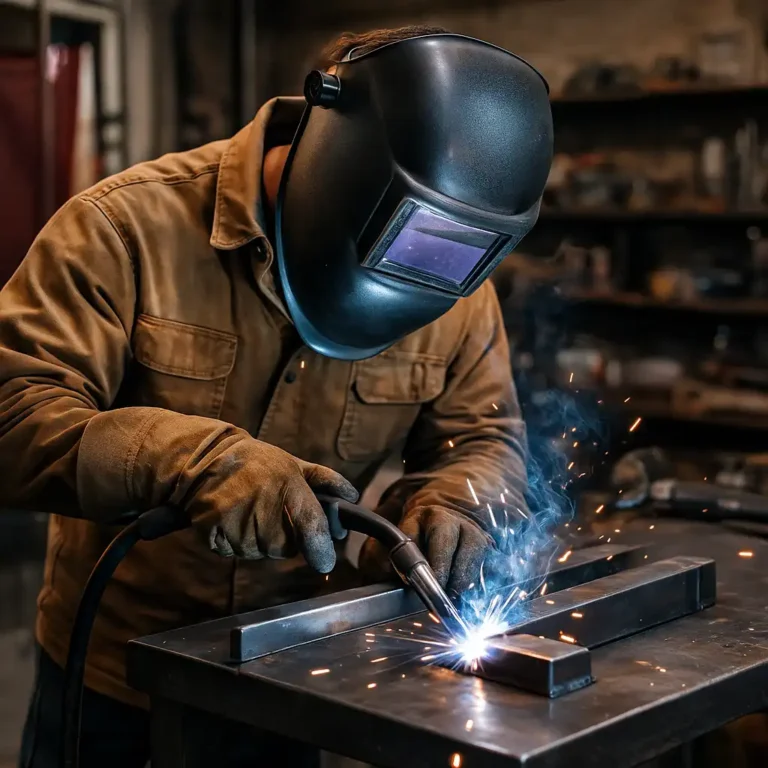
- 1G/1F – Flat: The easiest position. You’re welding down onto the surface, and gravity helps rather than hurts. It’s perfect for beginners.
- 2G/2F – Horizontal: The weld is horizontal on a vertical surface. You’ll need a bit more control to prevent sagging and undercutting.
- 3G/3F – Vertical: Welding vertically can be tricky. Welders often switch between uphill and downhill techniques, depending on the job.
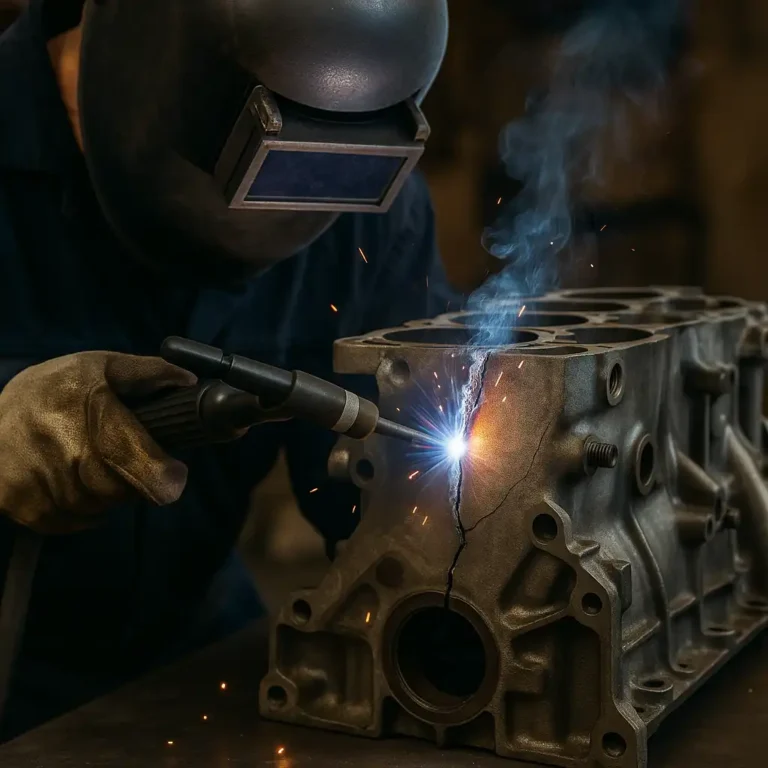
- 4G/4F – Overhead: This one tests your skills and patience. Gravity works against you, so controlling puddle and spatter becomes more demanding.
These positions are common in shop setups and structural welding. If you’re learning in a small garage or school program, you’ll probably spend a lot of time in flat and horizontal first.
Advanced Pipe Welding Positions: 5G and 6G
If you’re planning to get into pipe welding, expect to run into 5G and 6G positions. These are more complex and often used in job certifications.
- 5G: The pipe stays in a fixed horizontal position. You’ll weld around the pipe, which means constantly shifting your torch angle and stance.
- 6G: The pipe is fixed at a 45-degree angle. This one is the gold standard for weld tests because it combines vertical, horizontal, and overhead angles into a single weld.
Many experienced welders on forums say mastering 6G opens the door to higher-paying jobs—especially in oil, gas, and industrial fields.
How Welding Positions Affect Setup and Arc Behavior
The position you weld in changes everything—from machine settings to how you hold the torch.
Flat welds give you great visibility and puddle control. But vertical and overhead setups can throw you off unless you adjust. You might need to lower amperage, tighten your arc length, or change your electrode manipulation just to keep things steady.
According to many small-shop welders, rods like 7018 perform more predictably in harder positions, while 6010 is popular for vertical work due to its deep penetration.
If you’re running MIG or TIG instead of stick, fine-tuning your wire speed and voltage is crucial. Overhead MIG welding especially needs a dialed-in setup to minimize spatter and avoid poor penetration.
Learning Curve and Safety Tips for Each Position
Welding in flat and horizontal positions comes more naturally to most beginners. But once you switch to vertical or overhead, expect a steeper learning curve.
You’re dealing with gravity, awkward angles, and sometimes limited visibility. Practicing on scrap in those tricky positions is key. Don’t jump into a pipe test without warming up on vertical plates first.
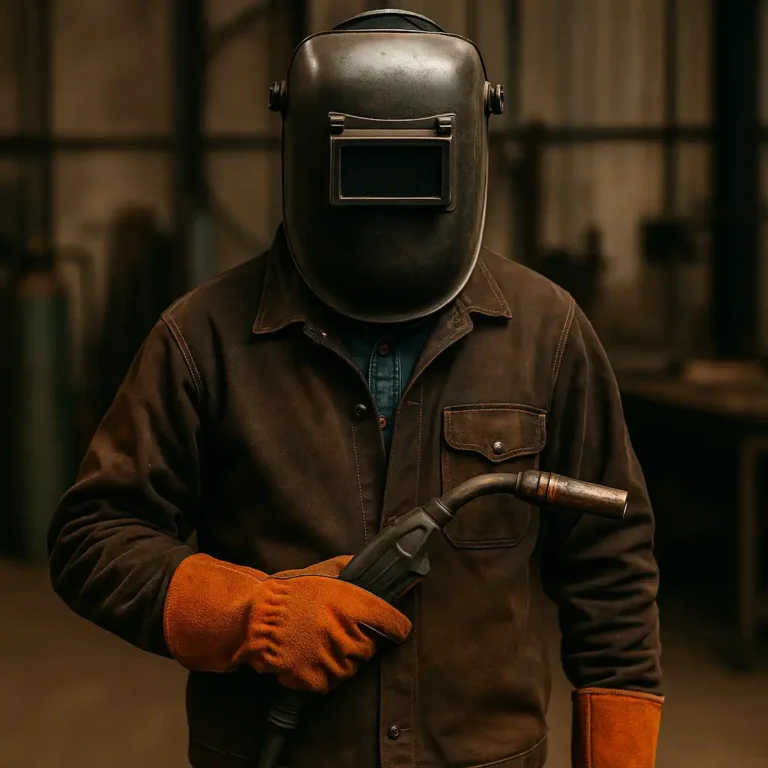
As for safety? It’s no joke. Overhead welds can send molten slag raining down. Always wear proper PPE—leather sleeves, a flame-resistant jacket, and a quality welding helmet. Even seasoned welders won’t skip safety when working above their head.
Conclusion
Welding positions aren’t just a technical detail—they’re a big part of the job. Starting with flat or horizontal builds your confidence. Once you’re ready, moving into vertical and overhead welds will stretch your skills and open up new opportunities.
If you’re heading into pipe work, learning 5G and 6G is worth it. These advanced positions aren’t easy, but they’ll set you apart in the field.
Know your position, prep your gear, and take your time. That’s how strong, reliable welds get made—no matter the angle.