How to Weld Aluminum at Home: Simple Steps for Beginners
Disclosure: This post contains affiliate links. As an Amazon Associate, I earn from qualifying purchases—at no extra cost to you.
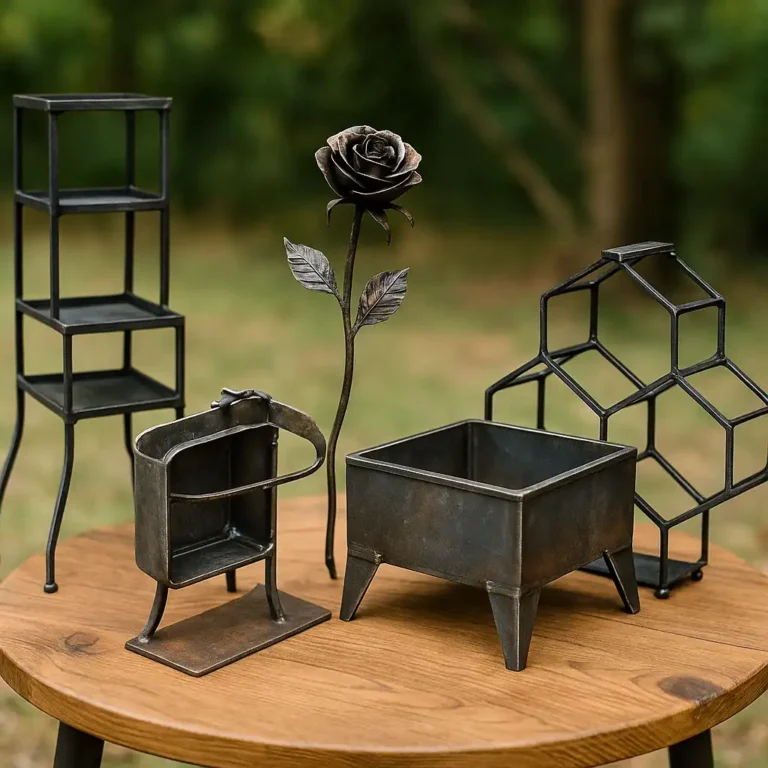
Learning how to weld aluminum at home can open the door to a wide range of DIY repairs and custom fabrication projects. While aluminum can be more challenging to work with than steel due to its thermal conductivity and oxide layer, it’s entirely manageable with the right tools and knowledge. Whether you’re patching a bike frame, building a toolbox, or working on automotive parts, mastering aluminum welding from your home setup is a valuable skill.
Choose the Right Welding Method
There are a few welding techniques suitable for aluminum, but the most accessible at home are MIG and TIG welding.
MIG Welding for Aluminum
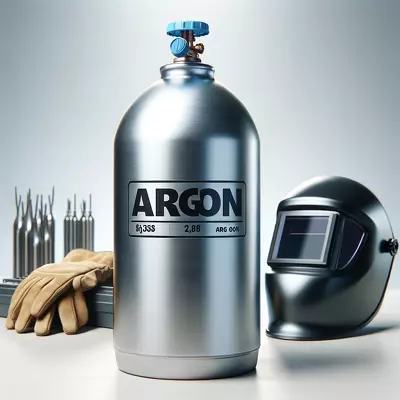
MIG (Metal Inert Gas) welding is a good starting point, especially if your welder supports aluminum wire. Use a spool gun to prevent wire tangling, and choose 100% argon gas for shielding. Aluminum wire typically requires a higher feed speed, so adjust your settings accordingly.
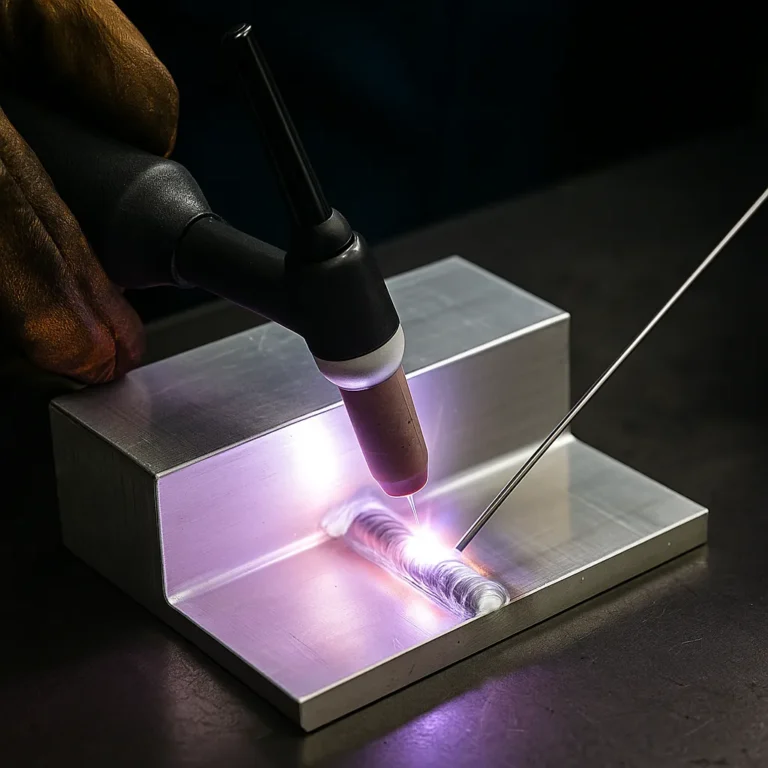
TIG Welding for Precision
TIG (Tungsten Inert Gas) welding offers greater control and cleaner welds, making it ideal for thinner aluminum sections. It requires more skill but delivers professional results. Use an AC TIG welder with a high-frequency start and a foot pedal for better heat management. Tungsten electrodes should be 2% thoriated or lanthanide, and a filler rod-like ER4043 works well for most home jobs.
Prepare the Surface Properly
Aluminum forms a tough oxide layer that melts at a much higher temperature than the base metal. Use a stainless steel wire brush to clean the surface before welding. Acetone can also remove grease and contaminants. Good surface prep is crucial for a solid weld.
Set Up the Welder Correctly
- Polarity: Use DCEP (Direct Current Electrode Positive) for MIG and AC for TIG.
- Shielding Gas: Pure argon is the best choice for aluminum.
- Voltage and Amperage: Aluminum needs more heat. For MIG, increase voltage and wire speed; for TIG, start at around 1 amp per 0.001 inch of material thickness.
Practice on Scrap First
Before welding the actual part, practice on scrap aluminum of similar thickness. Focus on maintaining a steady hand, keeping the torch at the correct angle (typically 10 to 15 degrees), and ensuring proper travel speed to avoid burn-through.
Common Issues to Avoid
- Porosity: Usually caused by moisture or contamination. Dry your filler rods and clean all surfaces thoroughly.
- Burn-through: Common in thin aluminum. Reduce heat or speed up your travel rate.
- Cold Starts: Begin your weld with a brief pre-flow of shielding gas to avoid contamination at the start.
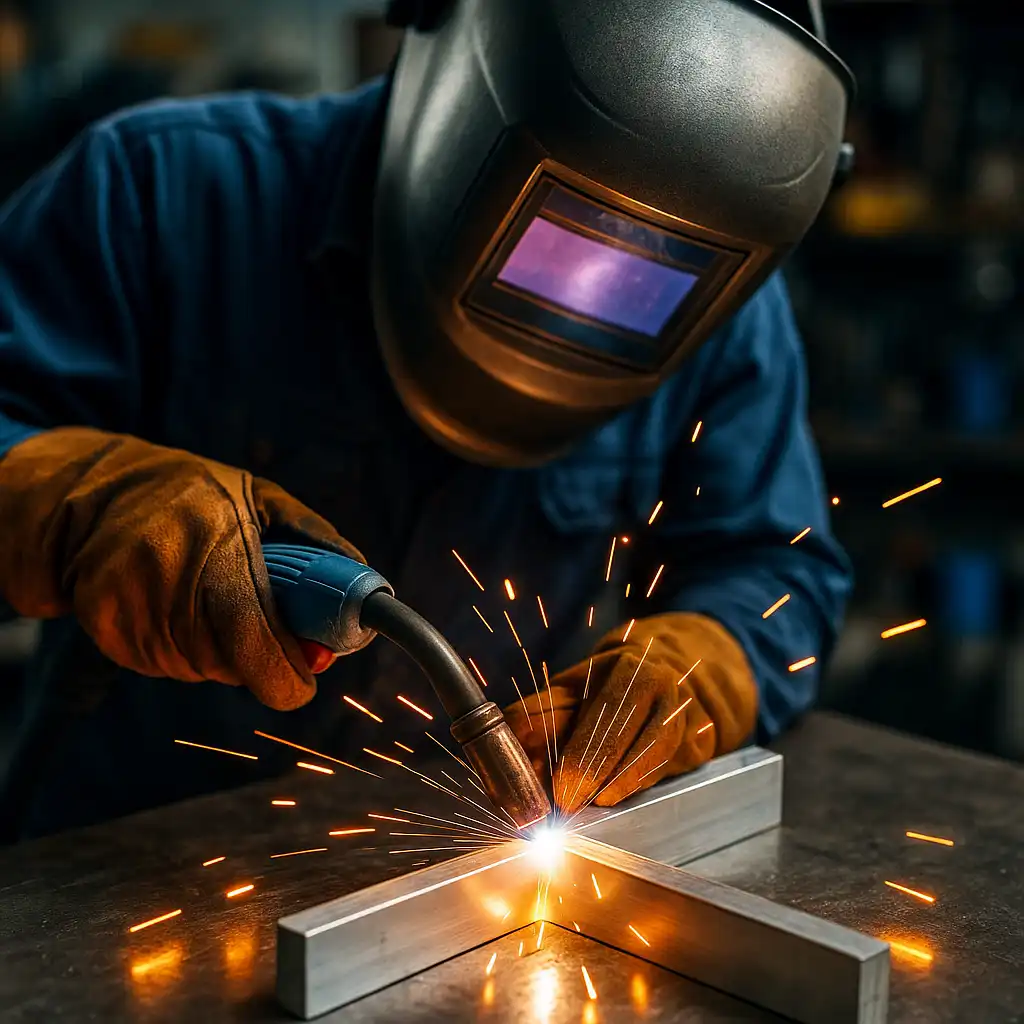
Safety First
Always wear a welding helmet with the proper shade, gloves, and flame-resistant clothing. Ensure your workspace is well-ventilated and free of flammable materials.
Conclusion
Welding aluminum at home might seem intimidating at first, but with the right tools, prep, and technique, you can tackle everything from basic repairs to full custom builds. It’s a skill worth developing for any home fabricator or welding hobbyist.