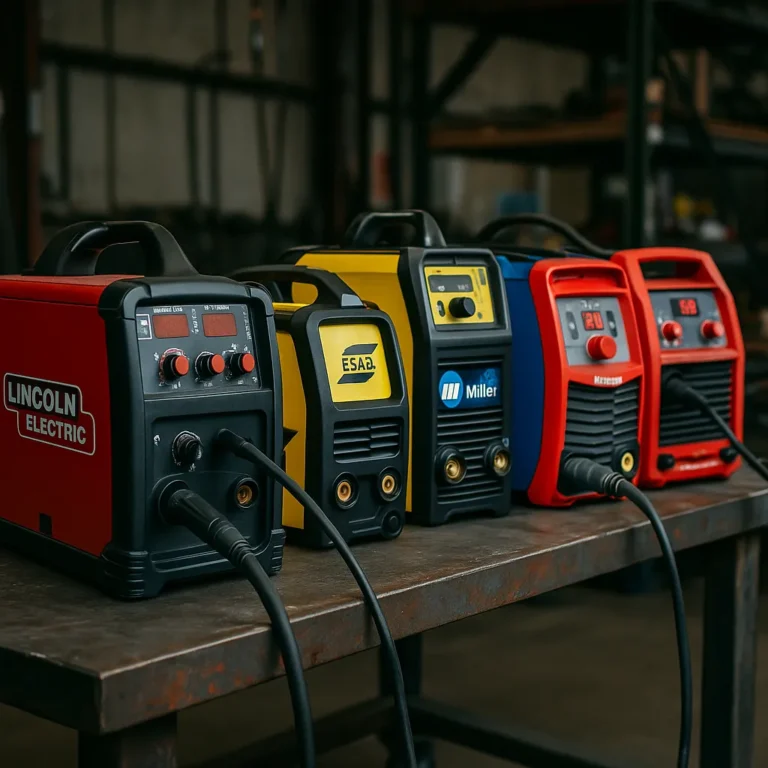
Can You Weld Copper to Steel with a MIG Welder? Tips and Challenges Explained

Disclosure: This post contains affiliate links. As an Amazon Associate, I earn from qualifying purchases—at no extra cost to you.
Mixing copper and steel in a welding project? That’s no easy job. These two metals have totally different personalities, and getting them to bond using a MIG welder can be frustrating if you’re not prepared. Still, it’s doable—with the right approach, tools, and expectations.
Why Welding Copper to Steel Isn’t Straightforward
Copper and steel aren’t exactly best friends when it comes to heat. Copper pulls heat away super fast, while steel tends to hold onto it. That uneven heat distribution makes it tough to get a clean, solid weld.
Based on what welders are saying in forums and DIY videos, trying to MIG weld copper straight to steel usually leads to weak joints, poor penetration, or cracking. The copper often soaks up all the heat before the weld can form properly on the steel.
So, while you can try it, a standard MIG setup isn’t going to make it easy.
What Helps? Use the Right Filler and Prep
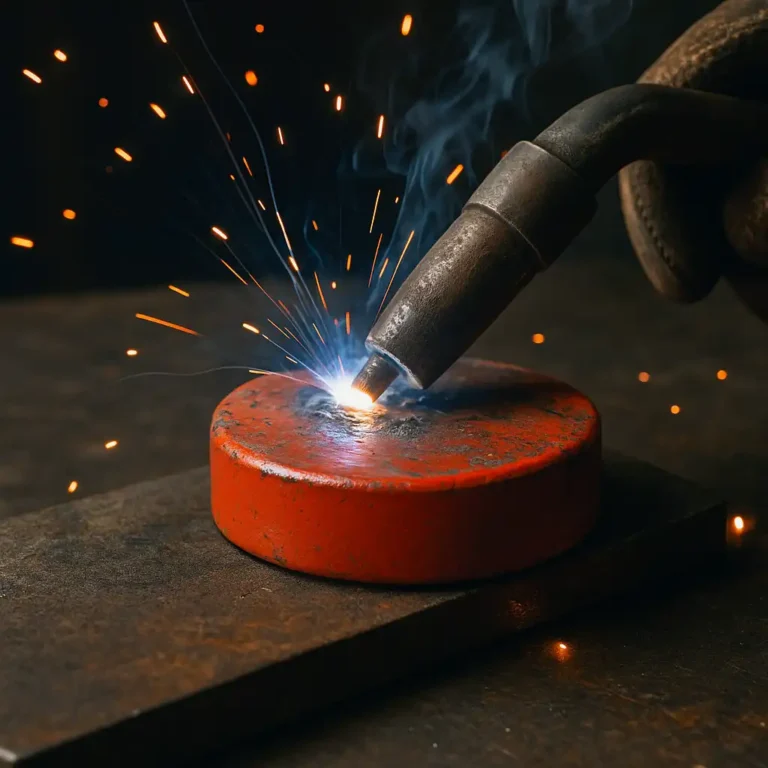
If you’re set on using MIG for this, you’ll need some extra help. A regular steel wire won’t cut it. Most welders recommend using a silicon bronze wire as a filler. It acts like a bridge between the two metals and makes the weld more forgiving.
Here’s what can make a big difference:
- Use a spool gun if you’ve got one—it handles soft wires better.
- Shielding gas matters—argon or an argon/helium mix helps control heat.
- Work in short bursts to avoid overheating the steel or underheating the copper.
According to reviews and shop feedback, this setup works best for low-stress jobs like brackets or decorative pieces. For anything structural or heavy-duty, MIG just isn’t ideal.
Realistic Setup and Safety Notes
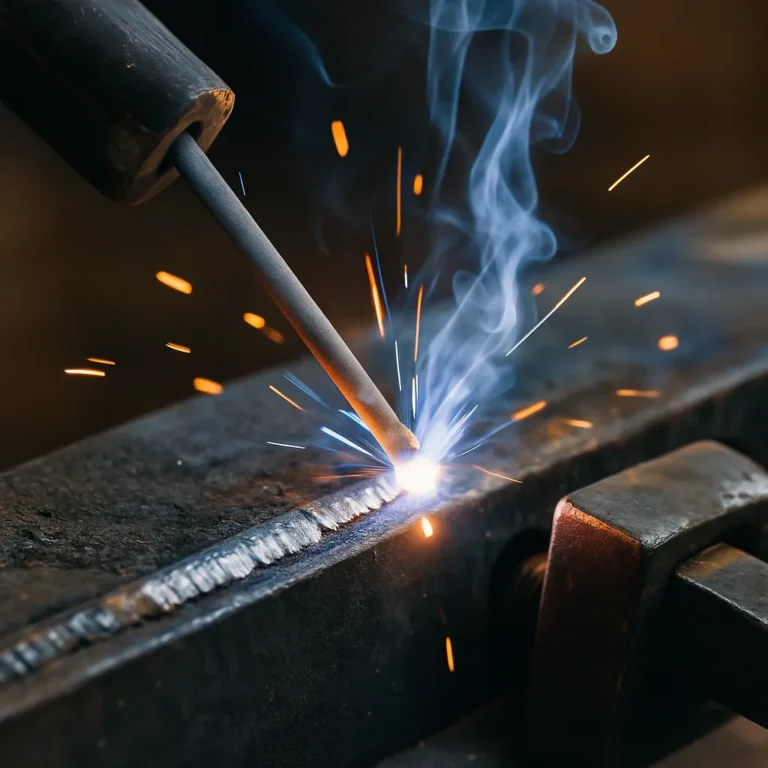
When you’re welding dissimilar metals like this, it’s even more important to prep well. That means cleaning both surfaces thoroughly and clamping your workpieces tightly.
A lot of small shop welders also recommend doing a test weld on scrap pieces before jumping into your actual project. It’ll help you find the sweet spot for heat and wire speed—so you don’t blow through your material or waste wire.
And don’t forget ventilation. Copper alloys can give off nasty fumes if overheated, so crack a window or run that fume extractor if you’re welding in a small garage.
MIG Isn’t Always the Best Tool for the Job
Here’s the truth: if you want a strong, clean weld between copper and steel, TIG welding is usually the better option. It gives you more control over heat and filler placement. MIG can work, especially with the right filler, but expect a learning curve and some trial and error.
Still, for creative projects or light repairs, it’s possible—and definitely a cool challenge if you like experimenting with your gear.
Conclusion
Welding copper to steel with a MIG welder is tricky, but not impossible. You’ll need the right filler wire (like silicon bronze), tight heat control, and a bit of patience. Don’t expect perfect results the first time—but for small, non-critical jobs, it can be a rewarding project.
If you’re just exploring mixed-metal welding, this is a good one to test on scrap before using it in real builds. And remember—sometimes the best tool for the job isn’t always the one you already own.