What Is Duty Cycle on a Welder? Why It Matters More Than You Think

Disclosure: This post contains affiliate links. As an Amazon Associate, I earn from qualifying purchases—at no extra cost to you.
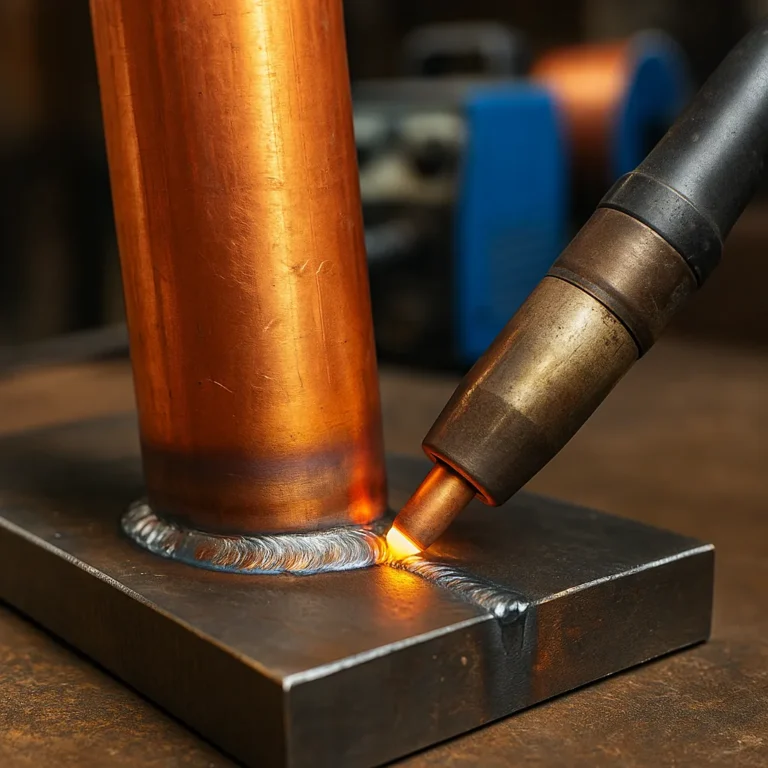
Welders often see the term “duty cycle” on their machine’s specifications, but what does it actually mean? Whether you’re a beginner or an experienced welder, understanding duty cycle is essential for safe and efficient welding.
What Is Duty Cycle on a Welder?
The duty cycle refers to the amount of time a welder can operate at a given output before it needs to cool down. It’s usually expressed as a percentage over 10 minutes. For example, a welder with a 30% duty cycle at 200 amps can safely weld for three minutes before requiring a seven-minute cooldown.
Why Does Duty Cycle Matter?
The duty cycle is crucial for several reasons:
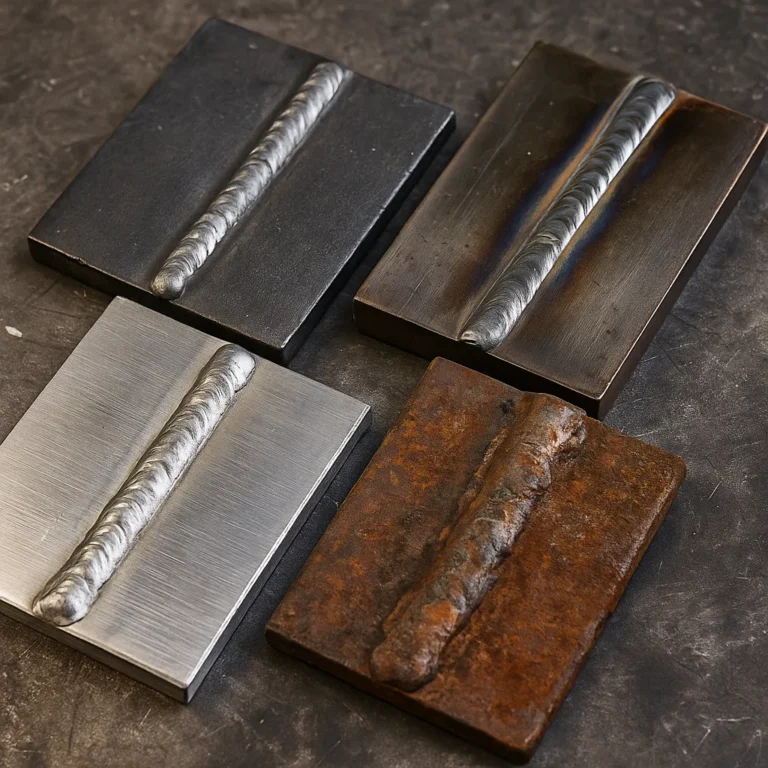
- Preventing Overheating: Exceeding the duty cycle can cause the welder to overheat, potentially damaging internal components.
- Maintaining Performance: Operating within the specified duty cycle ensures consistent weld quality and prevents unexpected shutdowns.
- Equipment Longevity: Staying within the duty cycle limits prolongs the lifespan of your welding machine.
How to Calculate Duty Cycle
Understanding the calculation behind duty cycle helps you manage your welding time effectively. For instance:
- 40% duty cycle at 150 amps means you can weld for 4 minutes and must let the welder cool for 6 minutes within a 10-minute cycle.
- 100% duty cycle at 100 amps means the welder can continuously run at that amperage without overheating.
The higher the amperage, the shorter the duty cycle. Conversely, reducing the power output can increase the continuous operating time.
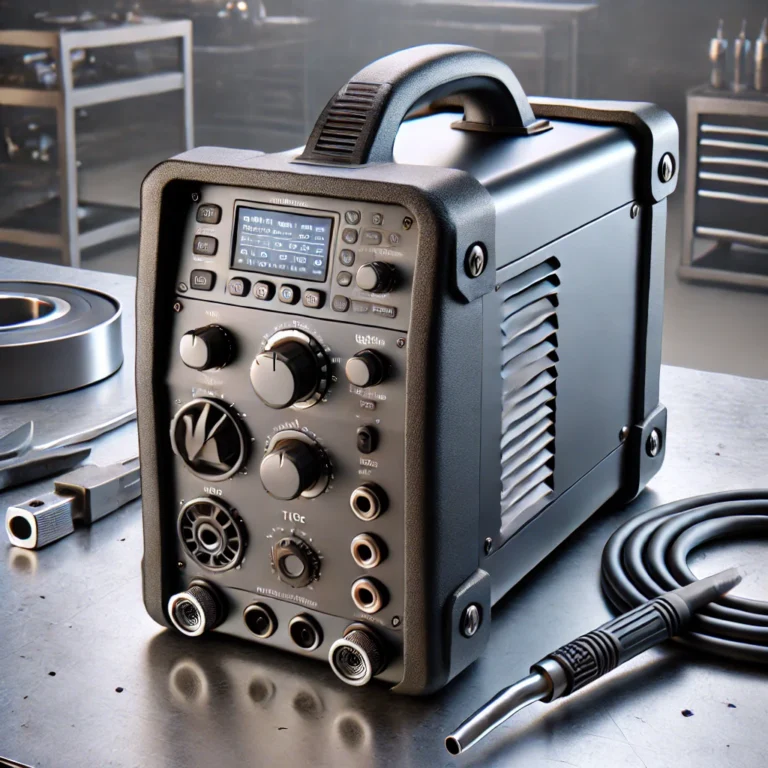
Choosing a Welder Based on Duty Cycle
When selecting a welder, consider these factors:
- Project Size: A welder with a lower duty cycle may suffice for light home repairs or DIY tasks. A machine with a high duty cycle is essential for continuous, heavy-duty projects.
- Power Source: Higher-voltage machines (such as 220V models) often offer better duty cycles, making them ideal for prolonged or intensive work.
- Material Thickness: Thicker metals often require higher amperage, reducing the duty cycle duration.
Maximizing Your Welder’s Duty Cycle
To ensure optimal performance:
- Monitor Welding Time: Keep track of your welding duration to avoid surpassing the machine’s limit.
- Use Proper Ventilation: Ensure the welder’s cooling fans are unobstructed to enhance heat dissipation.
- Invest in a Heavy-Duty Welder: For professional or frequent use, consider models designed for extended operation.
Conclusion
Understanding and respecting your welder’s duty cycle is key to achieving quality results, protecting your equipment, and ensuring your safety. By selecting a welder that matches your project’s demands and practicing proper cooling techniques, you’ll improve efficiency and extend the life of your welding machine.
Related Articles You Might Find Helpful
If you’re diving deeper into welding techniques and equipment, these articles might be just what you need: