TIG Welding on Stainless Steel Pipe: Tips for Smoother Welds and Cleaner Results
Disclosure: This post contains affiliate links. As an Amazon Associate, I earn from qualifying purchases—at no extra cost to you.
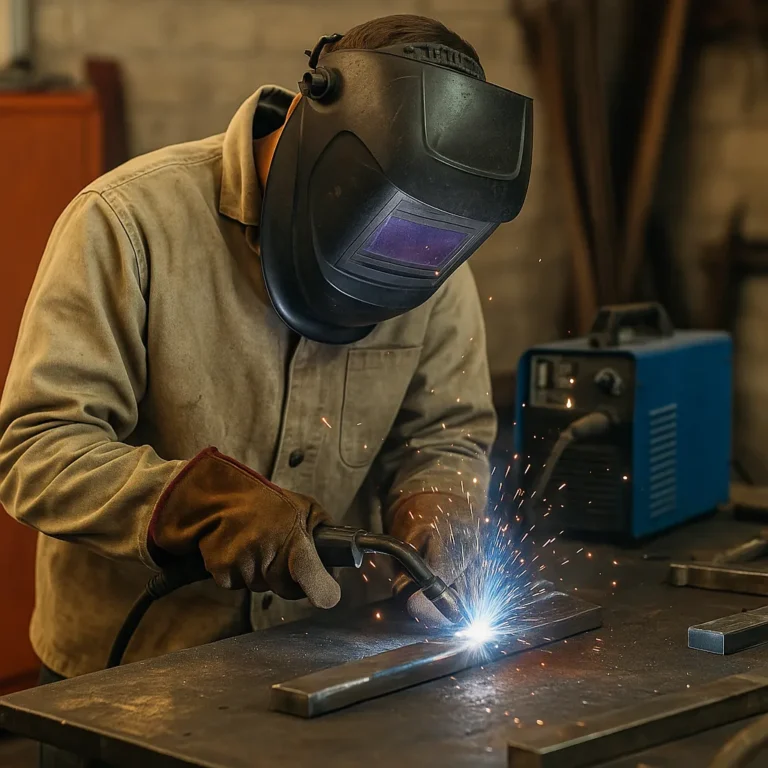
TIG welding stainless steel pipe takes more finesse than most welding jobs. You’re not just aiming for strength—you’re chasing clean, uniform beads with minimal oxidation and perfect penetration. Whether you’re welding sanitary pipe in a food-grade facility or fabricating a custom exhaust system at home, getting it right means understanding the setup, the technique, and the tools that actually make a difference.
Let’s walk through what matters most when it comes to TIG welding on stainless pipe—and how to avoid the common frustrations.
Good Fit-Up and Purging Go a Long Way
Proper prep is everything when you’re working on stainless pipe. Loose joints or gaps can lead to arc instability and poor fusion. Most welders recommend tight, clean fit-ups to make it easier to control heat and maintain a steady weld pool.
If the job calls for sanitary-grade work, back purging with argon is a must. Without it, you’ll get sugaring inside the pipe, which weakens the weld and compromises corrosion resistance. Even a minor leak in your purge can cause discoloration or rough beads—especially with thin-wall tubing—so it’s worth using quality purge dams or tape to seal the ends tight.
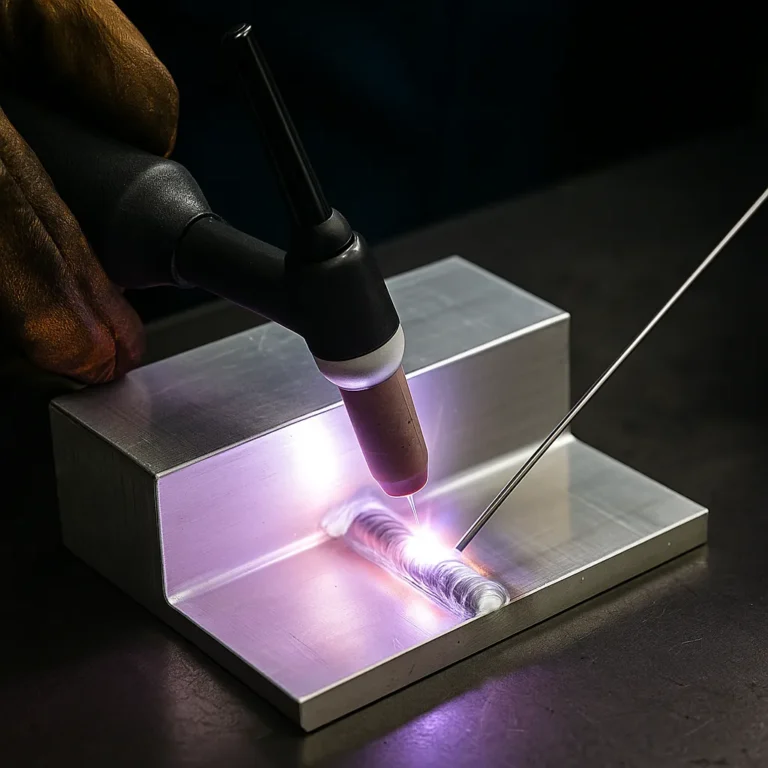
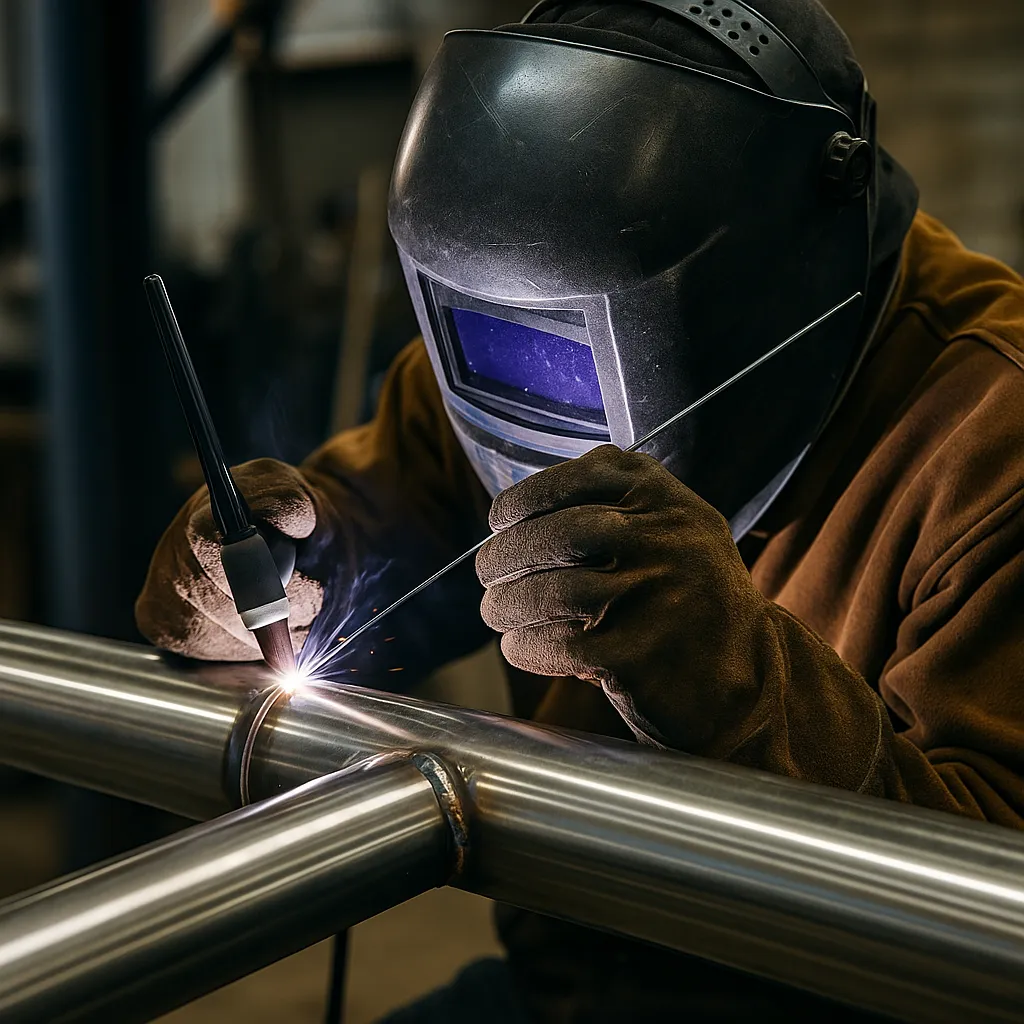
Arc Control Is Everything on Pipe
A stable arc makes all the difference when you’re trying to walk the cup or manage a precise root pass. Stainless steel heats up fast and holds that heat longer than mild steel, which means your technique needs to adapt as you go.
Most TIG setups for stainless pipe use 2% lanthanated or ceriated tungsten for better arc starts and sharper points. Clean tungsten prep and tight arc length help keep the puddle consistent, especially when you’re welding out of position. Many pipe welders prefer foot pedal or fingertip controls to fine-tune amperage in real time, which helps avoid burn-through or undercut.
The Learning Curve Is Real—but Worth It
There’s no sugarcoating it—TIG welding stainless pipe is tough to learn. You’re constantly repositioning your body and torch, feeding wire steadily, and adjusting arc angle to keep everything dialed in. But once it clicks, your welds get smoother and more repeatable.
Beginners often start with short joints on 2” schedule 10 pipe. It’s manageable and helps build hand coordination without overwhelming you. According to forum feedback, steady rests, clear lighting, and dry runs (without arc) can speed up the learning process.
Choose the Right Machine and Accessories
You don’t need a top-of-the-line welder to get good results on stainless, but you do need features that help you work efficiently. Look for machines with high-frequency start and adjustable pulse settings. These features help maintain arc control and reduce heat input—especially useful on thinner wall pipe.
Gas lenses and larger cups (#8 or #10) improve shielding coverage, which prevents oxidation. And don’t skimp on filler metal—ER308L is the standard choice for most stainless jobs, but make sure it matches your base material.
Conclusion
TIG welding on stainless steel pipe can be challenging, but it’s a skill that pays off. Clean, consistent welds take time and patience, but with solid prep, proper technique, and the right tools, you’ll get there.
This process is ideal for precision jobs that need durability and corrosion resistance. Whether you’re in a fabrication shop or working from a small garage, these fundamentals will help you lay down strong, clean beads with confidence.