How to Use a Wire Feed Welder for Beginners: A Step-by-Step Guide

Disclosure: This post contains affiliate links. As an Amazon Associate, I earn from qualifying purchases—at no extra cost to you.
Learning how to weld can feel overwhelming at first, but using a wire feed welder is one of the easiest ways to get started. Whether you’re repairing a gate, building a metal frame, or diving into your first DIY welding project, wire feed welding—commonly known as MIG (Metal Inert Gas) welding—is a beginner-friendly process that balances power, ease of use, and affordability. With the right technique and setup, you can make clean, strong welds even on your first try.
What Is Wire Feed Welding?
Wire feed welding uses a continuously fed wire electrode that melts and fuses metal pieces together as an electric arc heats it. Shielding gas, either built into the wire (flux core) or supplied separately, protects the weld from atmospheric contamination. MIG welders are especially great for light to medium-duty tasks and offer an ideal starting point for anyone new to welding.
Preparing Your Workspace and Safety Gear
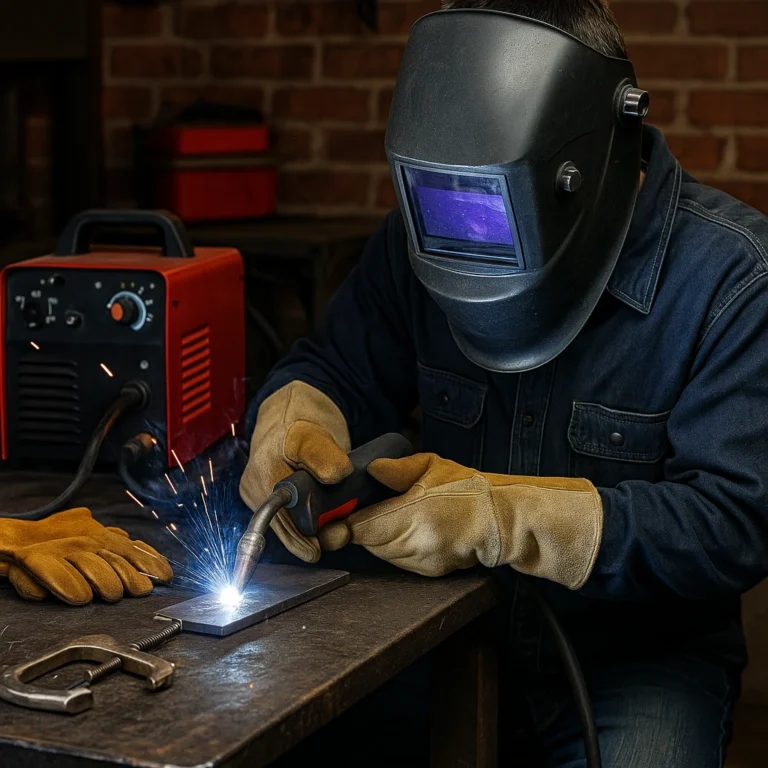
Before you begin, safety should be your top priority. Make sure you’re working in a well-ventilated area away from flammable materials. Equip yourself with proper gear, including a welding helmet with auto-darkening lens, welding gloves, a long-sleeve jacket, and safety boots. Keep a fire extinguisher nearby just in case.
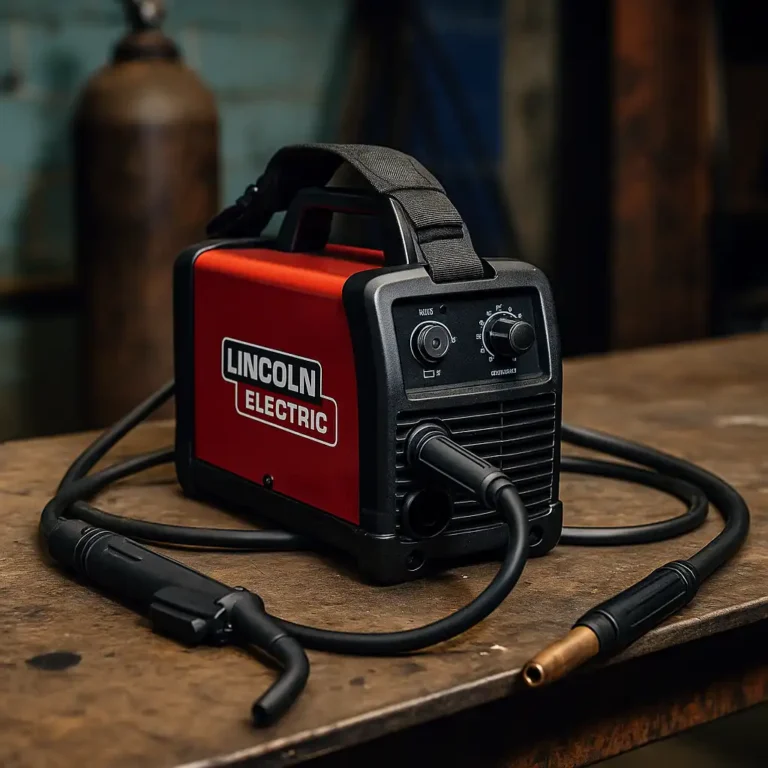
Set your welder on a stable surface and ensure the work area is dry and clear. Plug in the welder and attach your ground clamp to a clean, bare metal surface on the piece you’re working on. This will complete the circuit and ensure proper arc behavior.
Choosing the Right Wire and Settings
For most beginner applications, 0.030-inch solid wire with a 75% Argon / 25% CO₂ shielding gas is recommended. If you’re welding outdoors or working in a breezy space, flux core wire is a better option as it doesn’t require external gas.
Next, adjust the voltage and wire feed speed based on your material’s thickness. Many wire feed welders include a chart inside the welder’s access panel to guide you. For thin sheet metal, start with lower settings. For thicker steel, increase both voltage and wire speed accordingly.
Laying Your First Bead
Hold the gun at a 15- to 20-degree angle from vertical and keep the nozzle about half an inch from the metal surface. Press the trigger and begin moving steadily across your weld joint in a straight line or small circular motions. Maintain a consistent travel speed—too fast and the bead won’t hold, too slow and you might burn through.
Watch for a clean, even bead with good penetration. If you hear sputtering, the wire feed speed may be off, or your contact tip might be too far from the work surface.
Common Mistakes to Avoid
Beginners often pull the torch away from the metal too far, weakening the arc. Others move too quickly, resulting in spotty welds that lack fusion. Ensure your ground clamp is tightly secured and your metal surfaces are clean of rust, paint, and oil.
Don’t forget to let your piece cool between welds. Excessive heat buildup can warp thin metal or lead to poor weld integrity.
Conclusion
Mastering a wire feed welder is a rewarding first step in your welding journey. With the right prep, settings, and technique, even a novice can lay down smooth, durable welds in no time. Take your time, practice on scrap metal, and don’t be discouraged by early mistakes. With patience and persistence, your skills will quickly improve.