How to TIG Weld a Cast Iron Engine Block Without Cracks
Disclosure: This post contains affiliate links. As an Amazon Associate, I earn from qualifying purchases—at no extra cost to you.
Welding cast iron—especially when it’s something as important as an engine block—takes patience, the right filler, and careful prep. It’s not your everyday welding job, but with the right steps, TIG welding cast iron is totally possible, even in a home garage or small shop.
Whether you’re fixing a cracked block on an older vehicle or restoring a rare engine, here’s what experienced welders and forum users recommend to get it done right.
Choose the Right Filler Rod and Preheat Carefully
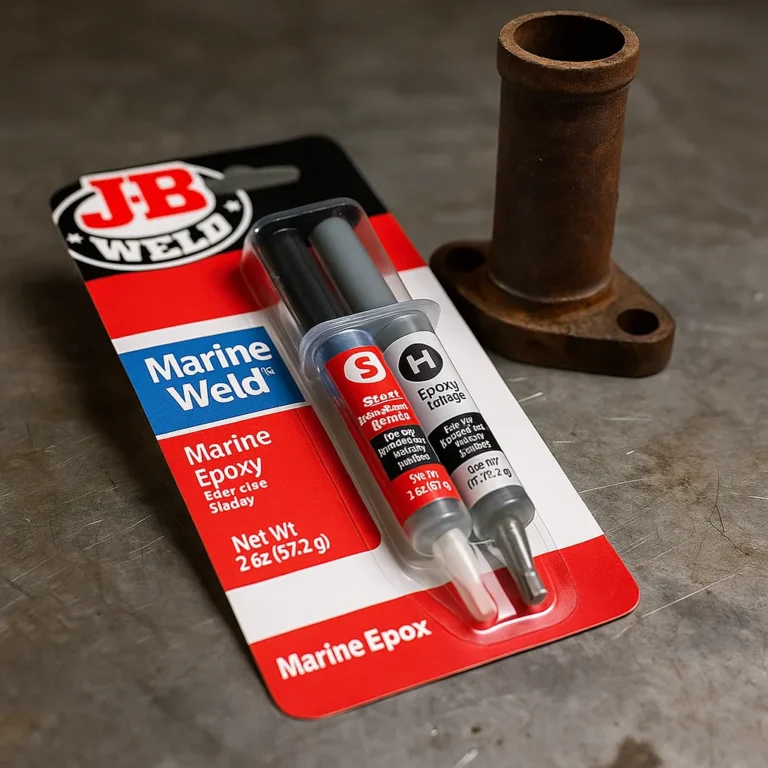
If you’re welding cast iron, start with a nickel-based filler rod. Most experienced welders lean toward ENiFe-CI (nickel-iron) or ENi-CI (pure nickel) rods. ENiFe-CI is often preferred for engine blocks because it handles thermal expansion and vibration better—two things that come with the territory under the hood.
Preheat matters just as much. Bringing the metal up to around 500°F (260°C) helps reduce the risk of cracking. A rosebud torch is the go-to method, but some welders use an oven if the part fits. After welding, let it cool slowly—either wrapped in a welding blanket or buried in sand—to avoid thermal stress that can lead to fractures.
Arc Control and TIG Settings That Work
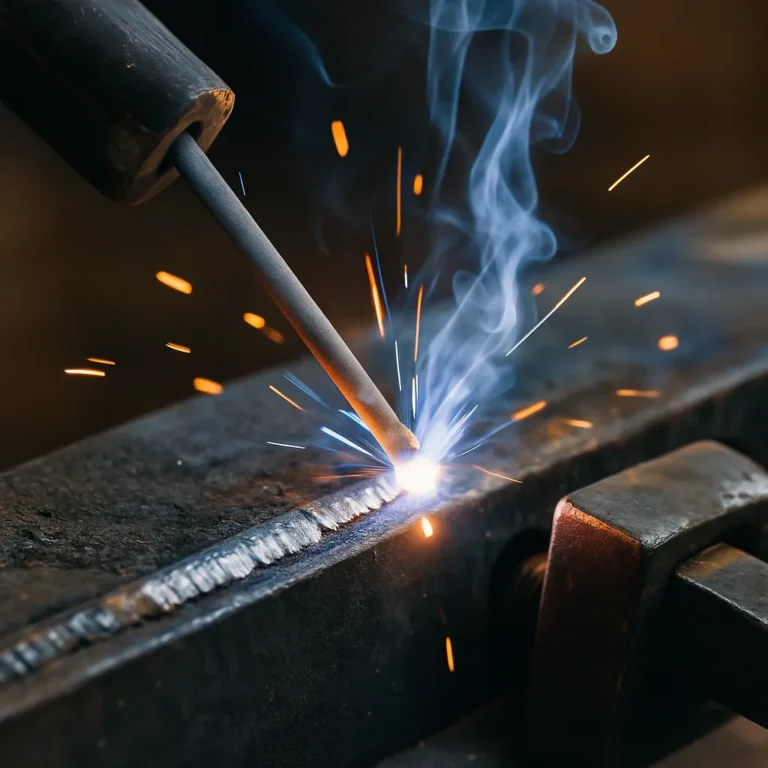
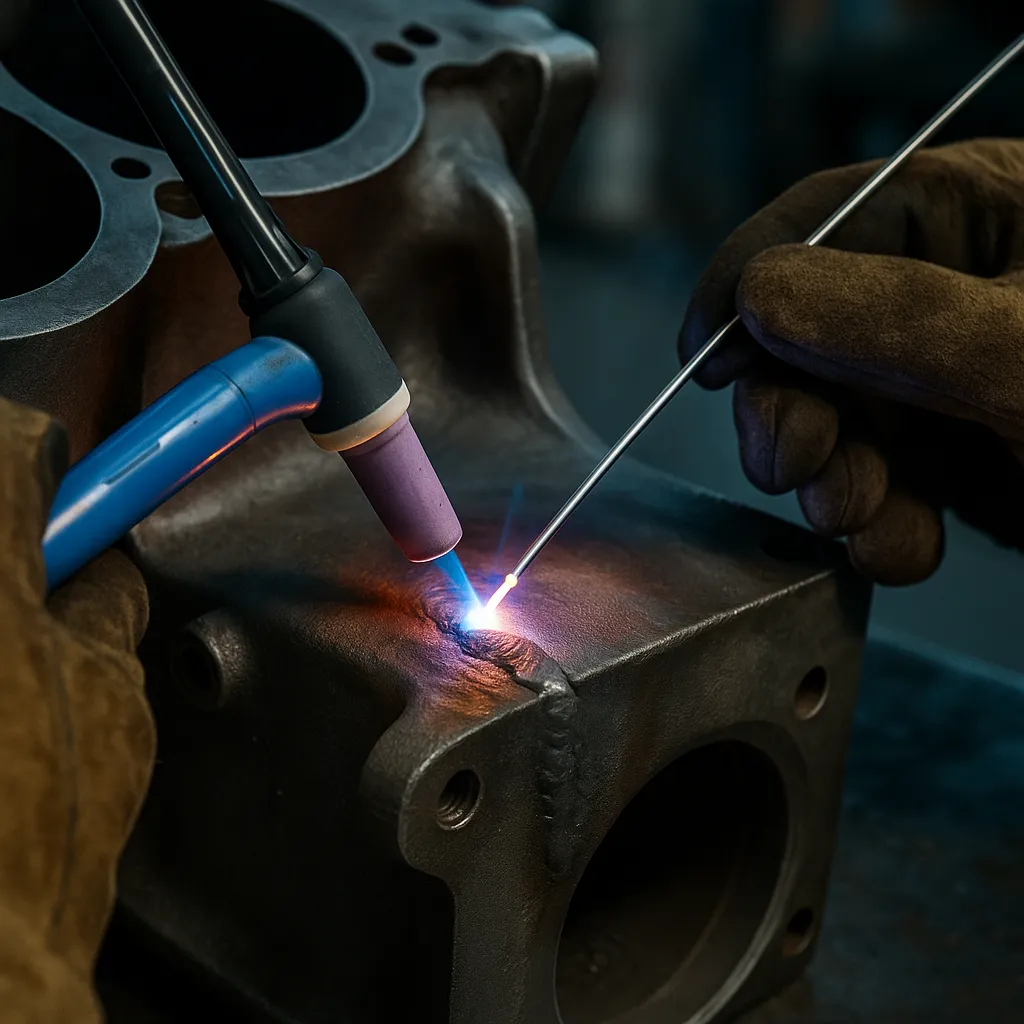
TIG welding cast iron needs a tight, clean arc. Most welders use DC electrode negative (DCEN) to get better heat focus and penetration. Arc length should be short and steady, and it’s best to weld in 1 to 2-inch passes. This keeps the base metal from overheating and hardening.
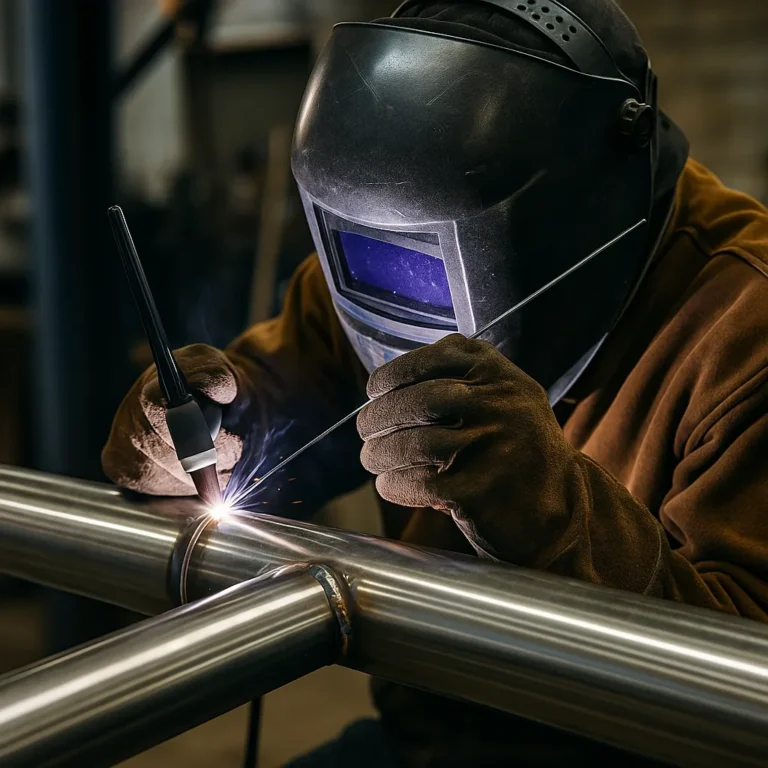
A foot pedal helps a lot here. It gives you fine control over heat, especially when working around corners or uneven surfaces. Machines like the Miller Multimatic 220 or ESAB EM 210 are frequently mentioned in user reviews for their smooth arc performance and precision at lower amps.
You’ll want 100% argon gas and a larger cup for proper shielding. Cast iron is often contaminated from years of use, so always grind down to clean, gray metal before welding. A dirty joint is one of the top reasons welds crack or fail.
Set Up Your Workspace for Cast Repairs
You don’t need a fancy setup, but you do need one that’s consistent and clean. Most small shop welders recommend using a solid metal bench with a reliable ground clamp. A soft-jawed vice helps hold the block without marring it, and having a safe way to preheat the part is a must.
Cleanliness is everything. Any oil, rust, or casting residue in the weld area will ruin your bead and make the arc unstable. Take your time prepping the surface—it’s more important than anything else in this process.
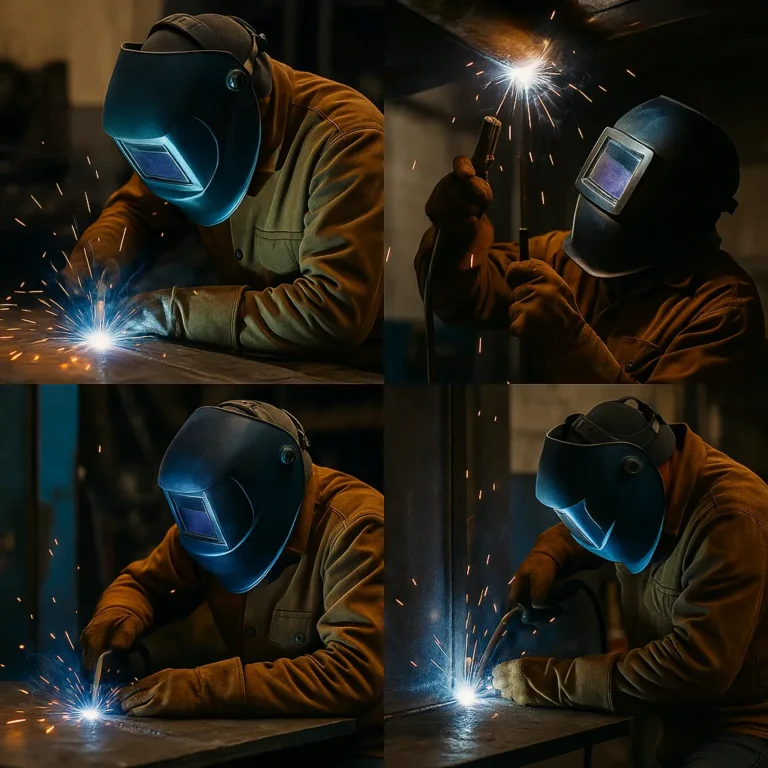
Safety and Practice Make a Big Difference
TIG welding cast iron isn’t beginner-level work. A lot of welders suggest practicing on junk castings first—like old brake drums or busted manifolds—before tackling an engine block.
Also, be aware that cast iron can give off some nasty fumes. Old coatings or impurities can release toxic gases during welding. Work in a well-ventilated space and consider wearing a fume-extracting respirator or PAPR system, especially if you’re indoors.
Once you finish welding, inspect the area. Use dye penetrant to spot surface cracks. Cast iron can look perfect on the surface and still develop fractures underneath, so post-weld inspection is worth the extra step—especially if the part will see pressure or vibration.
Conclusion
TIG welding a cast iron engine block takes care and technique—but it’s absolutely possible when done right. The key is a proper preheat, short and controlled weld passes, and using nickel-based filler rods that can handle the stress of engine heat cycles. Machines with precise arc control and a stable work area make a big difference, but cleanliness and slow cooling are just as important.
This job is best for skilled hobbyists or small-shop welders who have experience with delicate work and are comfortable managing heat. If you’re still getting the hang of TIG, it’s worth practicing first before diving into a job like this.