How Many Amps to Weld 1/4 Steel: Finding the Perfect Setting

Disclosure: This post contains affiliate links. As an Amazon Associate, I earn from qualifying purchases—at no extra cost to you.
Welding 1/4-inch steel is a common task in fabrication shops, automotive work, and heavy-duty repairs. However, getting it right requires more than just skill—it demands the correct amperage setting. Using too little current won’t provide sufficient penetration, while excessive amperage can lead to burn-through or distorted metal. Understanding the amp requirements for different welding processes helps you achieve strong, clean welds without compromising material integrity.
Understanding Amperage for 1/4-Inch Steel
When welding 1/4-inch steel, the amperage needed depends heavily on the welding process you’re using—whether it’s Stick (SMAW), MIG (GMAW), or TIG (GTAW). Each process has its optimal range, and matching the amps to your equipment and electrode choice is key.
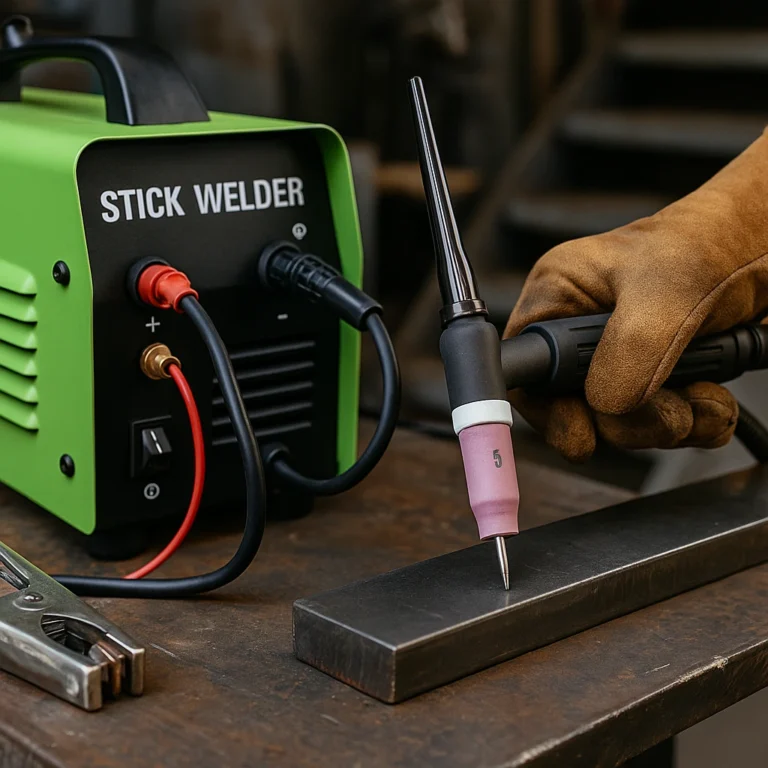
Stick Welding Amperage for 1/4-Inch Steel
For stick welding, a common rule of thumb is to use 1 amp per 0.001 inch of steel for each side of the joint. 1/4-inch (0.250 inches) thick steel puts you in the ballpark of 180–200 amps when using a 1/8-inch or 5/32-inch 7018 rod. At this amperage, you’ll get full penetration and solid welds, especially when welding flat or horizontal.
The choice of rod also matters. 7018 is a low-hydrogen rod known for deep penetration and smooth arc characteristics, making it ideal for structural welding. If you’re using a 6010 or 6011 rod, which runs hotter and is great for root passes, you might use slightly lower amps and build up multiple passes.
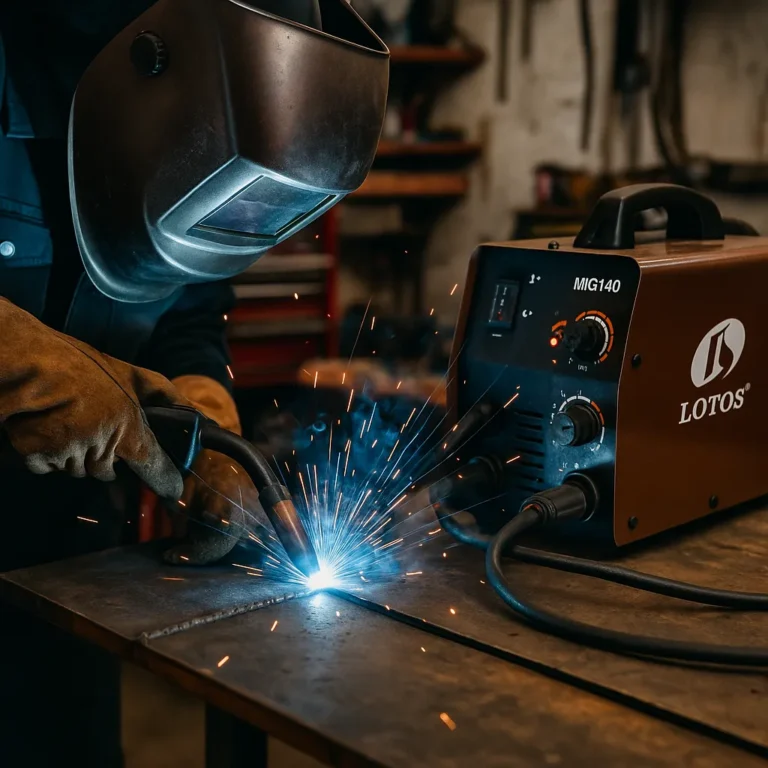
MIG Welding Amperage for 1/4-Inch Steel
If you’re using an MIG welder, the amperage typically ranges from 200 to 250 amps for 1/4-inch steel, especially when using 0.035 or 0.045-inch solid wire with shielding gas. Voltage settings between 23 and 26V are also common in this thickness range.
For best results, ensure proper wire feed speed, clean base metal, and a consistent travel angle. This setup allows for smooth arc transfer and excellent bead appearance without spatter. A good MIG welder with a high duty cycle ensures continuous welding without overheating the machine.
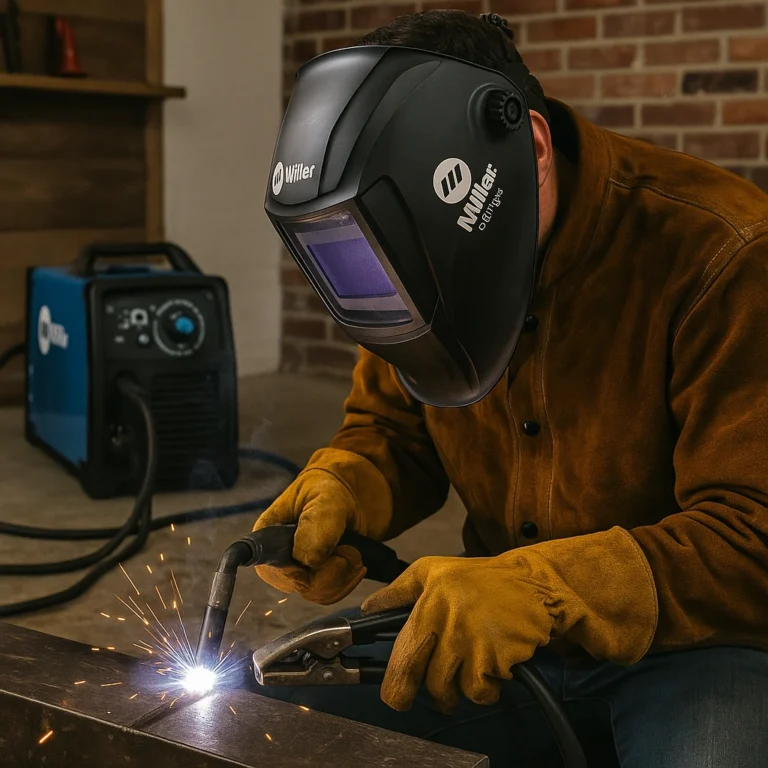
TIG Welding Amperage for 1/4-Inch Steel
TIG welding 1/4-inch steel requires more finesse and time, but it offers unmatched control. You’ll need about 200 amps with a 3/32 or 1/8-inch tungsten electrode, and possibly more if welding with DCEN and no pulsing. Preheat may also help, especially for thicker joints or when working in colder environments.
Due to its slower speed, TIG is rarely the first choice for thicker structural steel, but when precision matters, like in tool and die or stainless steel work, it shines. Due to higher heat requirements, amperage may exceed 250A for aluminum 1/4-inch plates.
Additional Considerations
Amperage is only one piece of the puzzle. Travel speed, joint configuration, electrode type, and machine capabilities also play major roles. Always perform test welds on scrap pieces and make adjustments based on penetration depth and bead appearance.
Also, remember safety. Proper PPE, ventilation, and grounding are essential when welding at high currents. Be mindful of duty cycles, especially on small machines, to avoid overheating.
Conclusion
For welding 1/4-inch steel, aim for 180–250 amps depending on the welding process. Stick and MIG are most efficient, with Stick often preferred in outdoor or rough environments and MIG offering cleaner welds with less post-processing. TIG works best when high precision is required, but demands more amperage and patience. Choose the process and amps that suit your setup, and you’ll ensure strong, clean welds every time.