Can You Sand J-B Weld Steel Stick for a Smooth Finish?
Disclosure: This post contains affiliate links. As an Amazon Associate, I earn from qualifying purchases—at no extra cost to you.
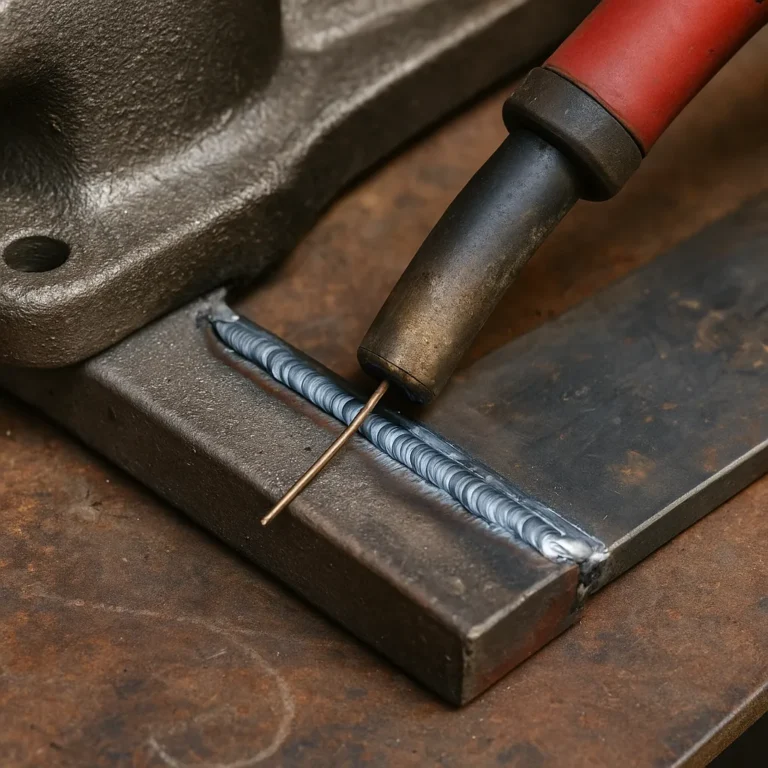
J-B Weld Steel Stick is a reliable go-to for quick metal repairs when you don’t have access to a welder or just need a fast fix. It’s a hand-mixable epoxy putty that bonds to metal and cures into a solid, sandable material. Many welders and DIYers rely on it for filling gaps, rebuilding worn parts, or patching holes where heat-based welding isn’t practical.
One of its most useful features? You can sand it after it cures—making it perfect for shaping, smoothing, and prepping for paint.
What It Feels Like After Curing
Once cured, Steel Stick turns into a dense, hard material similar to soft metal or plastic. It sets in about 5 minutes, but to get the best sanding results, it’s best to wait a few hours for a full cure.
Trying to sand it too soon can cause crumbling or uneven shaping. But once it hardens completely, it responds well to sanding and finishing. Welders often use it to fix pitted frames, repair exhaust leaks, or smooth over patchwork before painting or coating.
Tools That Work Well for Sanding
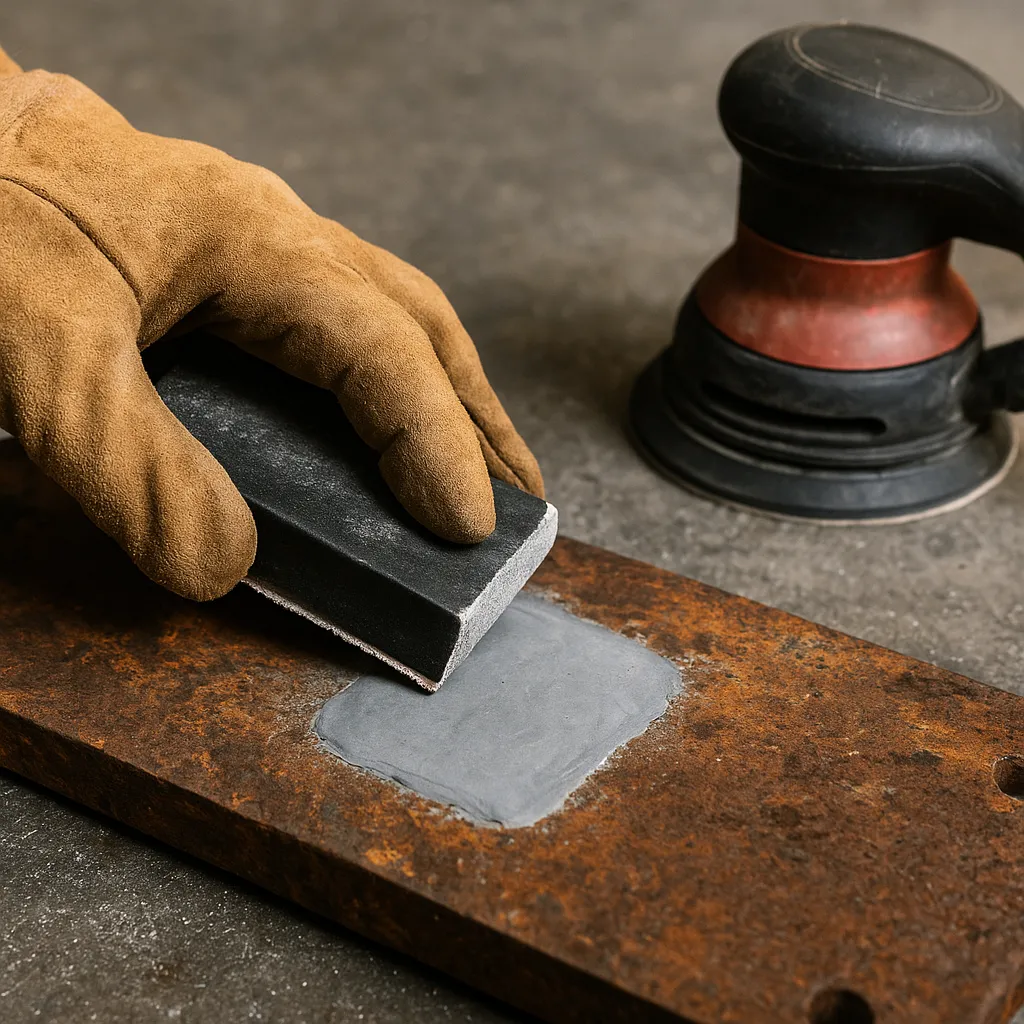
Most users recommend starting with medium-grit sandpaper (around 80–120 grit) to shape the cured epoxy. For finishing, move up to 220 grit or higher. For tight spots or detailed areas, hand files or rotary tools like a Dremel work well.
Unlike metal, Steel Stick doesn’t shave—it creates fine dust. That’s why wearing a dust mask and goggles is a smart move, especially if you’re working in a small space like a home garage.
Before painting or applying a coating, clean the sanded area with acetone to remove dust and residue. This helps ensure proper adhesion and a clean finish.
Safety and Surface Compatibility
While J-B Weld products are non-toxic after curing, the sanding dust can still irritate your lungs or eyes. Protective gear like a basic respirator and safety glasses is recommended.
As for compatibility, Steel Stick adheres well to clean, dry surfaces like steel, aluminum, iron, and other common shop metals. It dries dark gray, so it may not blend in with bare metal unless painted.
Why It’s Handy for Small Shop Repairs
Steel Stick is especially useful in smaller home shops or for welders working on quick turnarounds. It doesn’t need a power source or fancy setup—just knead, apply, and let it sit.
Because it’s sandable, the final result looks much cleaner than you’d expect from a no-heat fix. That makes it great for things like tool repairs, equipment patches, or jobs where welding isn’t ideal due to heat sensitivity or limited access.
Conclusion
J-B Weld Steel Stick sands well once fully cured, making it a solid choice for minor metal repairs that need a cleaner finish. It’s simple to use, works on a wide range of metals, and offers a surprising amount of versatility for the price.
If you’re handling light-duty repairs or just want something quick that won’t require a welder setup, Steel Stick is definitely worth having in your kit.