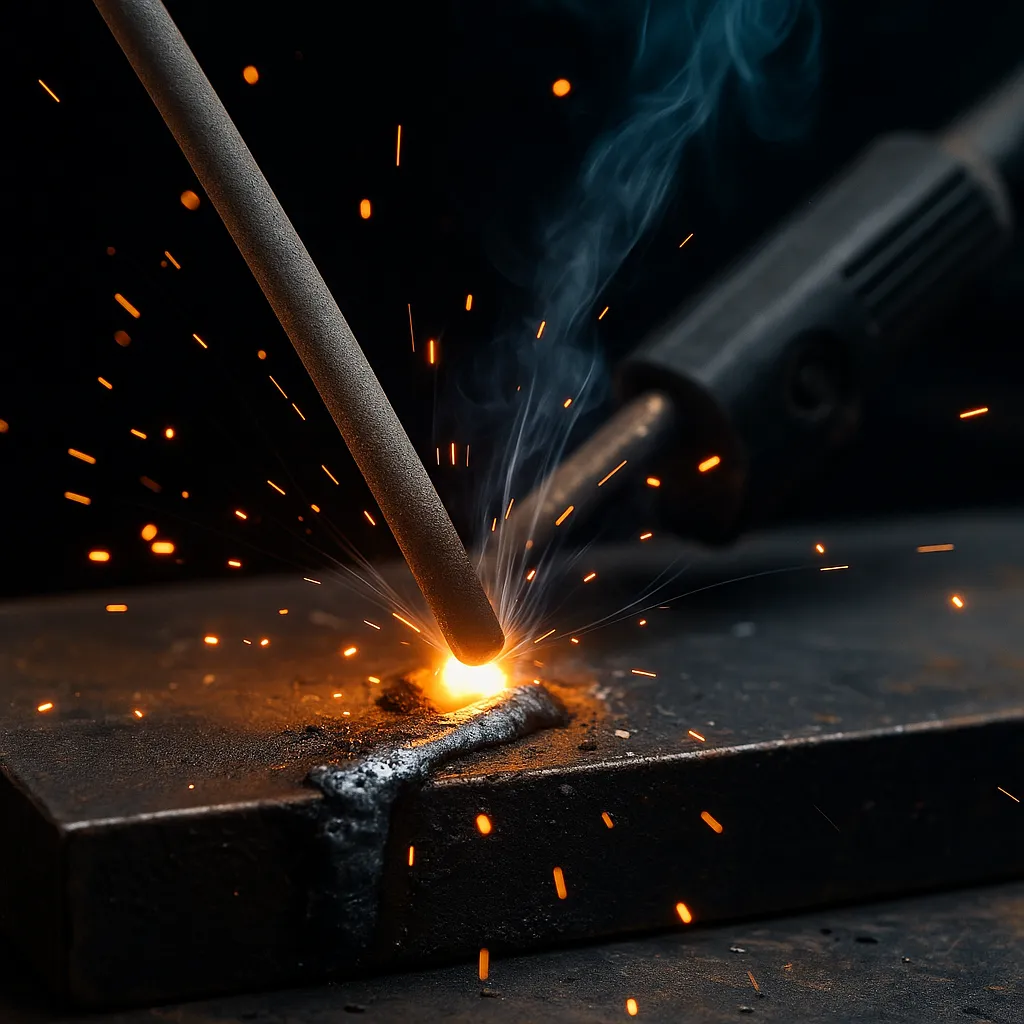
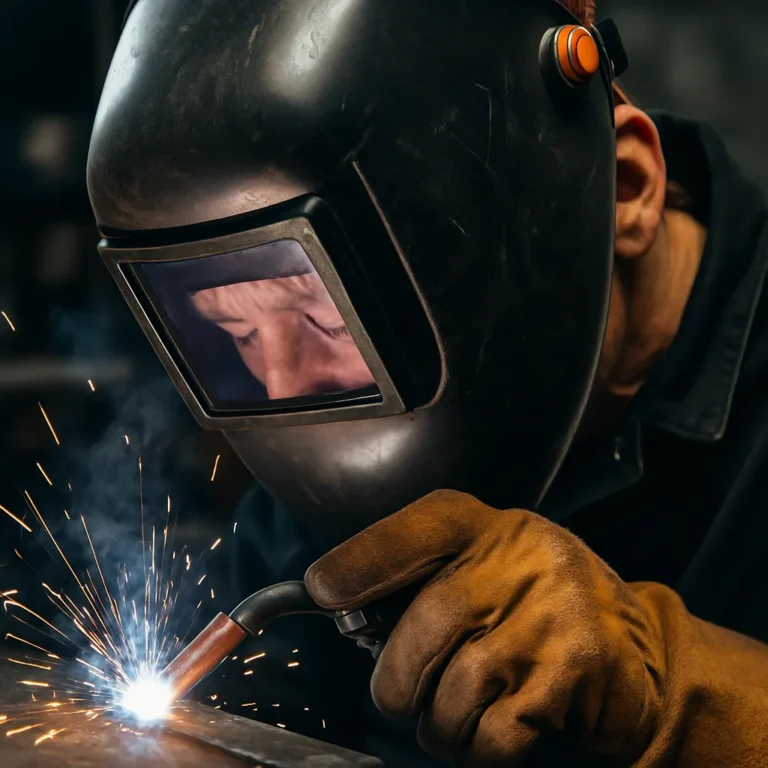
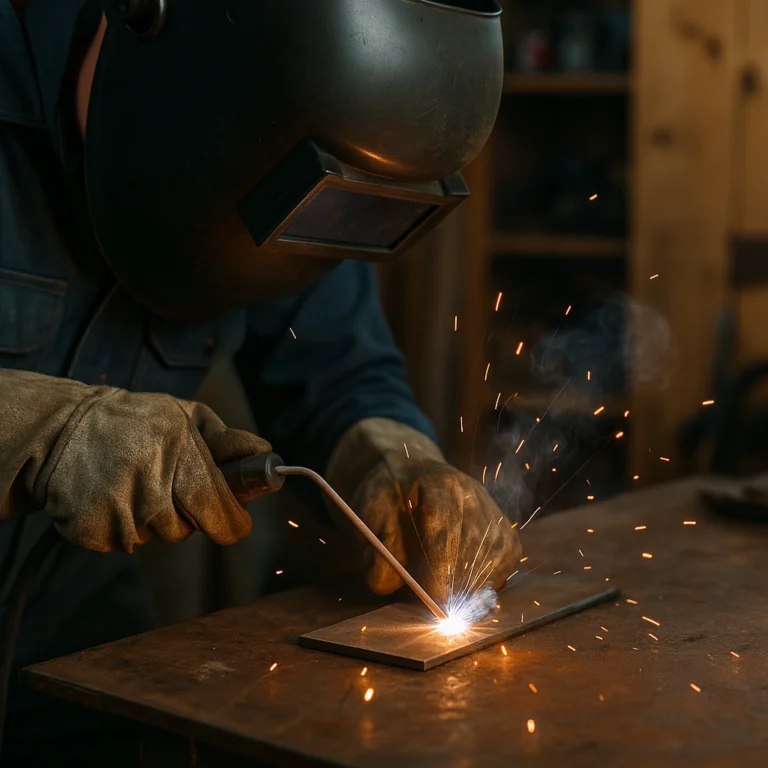
Best Amperage Settings for 7018 Welding Rod: Achieve Precision and Strength

Determining the Best Amperage for 7018 Welding Rod: Key Factors to Consider

When working with 7018 welding rods, understanding the best amperage settings is essential for achieving strong, high-quality welds. The 7018 rod is popular among welders for its versatility and strength. However, the right amperage can make a significant difference in the quality of your weld. Below are key factors to consider when determining the ideal amperage for 7018 welding rods.

Understand the Rod Diameter

The diameter of the 7018 welding rod you choose has a direct impact on the amperage settings. Typically, the general rule is to use the following guidelines:

  • 1/16-inch rod: 40-60 amps
  • 3/32-inch rod: 60-90 amps
  • 1/8-inch rod: 90-130 amps
  • 5/32-inch rod: 130-180 amps
  • 3/16-inch rod: 180-250 amps

This guideline will help you start with the recommended amperage, but adjustments may be necessary based on other factors.

Metal Thickness

The thickness of the metal you are welding is another crucial consideration. Thicker materials require higher amperage to ensure proper penetration and fusion. Here’s a quick reference:

  • Thin materials (16 gauge and below): Use lower amperage, around 70-90 amps with a 1/8-inch rod.
  • Medium thickness (1/8 to 1/4 inch): Moderate amperage, between 90-130 amps.
  • Thick materials (1/4 inch and above): Higher amperage, ideally 130 amps or above, depending on the rod size.

Adjusting your amperage depending on metal thickness helps ensure that the weld penetrates properly without burning through.

Type of Welding Position

The position in which you are welding can also affect your amperage choice. Different welding positions, such as flat, horizontal, vertical, or overhead, may require you to adjust your settings:

  • Flat position: This is the easiest position, and you can generally use the higher end of the amperage range.
  • Horizontal position: Follow amperage settings similar to the flat position, but monitor your travel speed.
  • Vertical position: You might need to reduce the amperage slightly to avoid excessive puddling.
  • Overhead position: Use lower amperage to help combat gravity impacting the weld puddle.

Taking position into account will help prevent issues like sagging or excessive spatter.

Welding Speed

The speed at which you move the welding torch or electrode can also require adjustments in amperage. A faster travel speed typically results in lower heat input, which might mean lower amperage. If you are welding slower, you will need to increase the amperage to ensure that you achieve a good weld pool.

Electrode Preparation

Before you begin welding, the condition of your 7018 electrodes is vital. Make sure they are dry and free from contaminants. The 7018 rods are low-hydrogen, which means they must be kept dry to prevent hydrogen cracks in the weld. If you are using old rods that have absorbed moisture, you may need to adjust the amperage to account for the lower performance of damp electrodes.

Experimentation and Practice

It’s always beneficial to practice and experiment. As you weld more with 7018 rods, you will get a feel for the right amperage settings for your specific projects. Each welding machine and situation is slightly different, so use the guidelines as a starting point and adjust based on your results.

Determining the best amperage for 7018 welding rods involves considering the rod diameter, metal thickness, welding position, welding speed, and electrode preparation. By evaluating these factors and experimenting with settings, you can enhance your welding skills and achieve superior weld quality.

Always remember to follow safety protocols when welding. Proper protection and ventilation are key to a safe working environment.

Tips for Achieving Optimal Welding Results with 7018 Electrodes

If you are using 7018 electrodes for your welding projects, achieving optimal results is key to ensuring both aesthetics and strength in your welds. These electrodes are favored for their low hydrogen content and ability to create strong, ductile welds. Here are some effective tips to help you get the most out of your 7018 welding experience.

Understand the Recommended Amperage

To begin with, it’s crucial to understand the best amperage settings for your 7018 welding rods. The recommended amperage typically ranges from 70 to 150 amps, depending on the diameter of the electrode you are using. For example:

  • 1/8 inch (3.2 mm): Use 90 to 130 amps.
  • 5/32 inch (4.0 mm): Use 125 to 150 amps.
  • 3/16 inch (4.8 mm): Use 140 to 180 amps.

Starting with the lower range and gradually increasing the voltage will help you achieve the perfect bead without burning through your material.

Select the Right Position

The welding position can greatly affect the flow of the weld. For 7018 electrodes, welding in flat or horizontal positions is often recommended. This allows for better control and less risk of slag inclusions. If you must weld in vertical or overhead positions, adjusting your technique and amperage can be vital for maintaining quality.

Preheat and Clean Your Workpiece

Before you start welding, it’s essential to prepare your workpiece. Cleaning any rust, paint, or oil from the surfaces will ensure better adhesion and flow of the weld. Additionally, preheating thick materials can help reduce the risk of cracking. A temperature between 150°F and 300°F is usually recommended for 7018 electrodes, particularly when working with high-strength steels.

Keep Consistent Travel Speed

Your travel speed plays a critical role in achieving a good weld bead. If you move too fast, the weld may lack penetration; if you move too slowly, you might create a bead that is too tall or heavy. Aim for a steady, medium pace while keeping the arc length consistent, ideally around 1/8 of an inch. Practice makes perfect, so consider doing test welds to establish your ideal speed.

Use Proper Technique

The technique you adopt can impact the quality of your weld. For 7018 welding rods, a drag technique is often more effective. This means that you should move the electrode slightly backward relative to the welding direction. Holding the electrode at a slight angle (usually 10-15 degrees) allows for a smoother bead appearance and prevents slag from becoming trapped in the weld.

Control the Arc Length

Arc length is another critical factor to consider. An ideal arc length is approximately 1/16 to 1/8 inch. If your arc is too short, the electrode may stick; if it is too long, it can result in an excessive amount of spatter and inconsistent bead quality. Maintaining the correct arc length will promote a cleaner and more uniform weld.

Work on Post-Weld Techniques

After completing the weld, focus on post-weld techniques to improve the overall integrity and appearance of your work. This can include cleaning the area to remove slag and ensuring that you inspect the weld for any cracks or defects. If you’re working on thicker materials, consider post-weld heat treatment to relieve stress in the weld zone.

Stay Patient and Practice

Practice is key to mastering the use of 7018 electrodes. Allow yourself time to learn and get accustomed to different settings, techniques, and materials. Even seasoned welders find new challenges with each project, so remain patient and keep honing your skills to achieve the best possible results.

By following these tips, you’ll be well on your way to achieving optimal welding results with 7018 electrodes. Remember, the key to a strong weld is a combination of proper settings, technique, and practice. Enjoy your welding journey!

Key Takeaway:

When it comes to welding, particularly with the 7018 rod, understanding the best amperage is crucial for achieving superior results. The 7018 welding electrode is highly favored for its excellent mechanical properties and ease of use, but selecting the right amperage can make or break your project. Here are the key takeaways on determining the optimal amperage for 7018 welding rods, along with valuable tips for enhancing your welding experience.

First, it’s essential to consider the thickness of the material you are working with. For instance, if you are welding thinner materials, a lower amperage setting is necessary to prevent burn-through. Generally, you’ll want to use an amperage range of approximately 70 to 130 amps. For materials that are about 1/8 inch thick, starting around 90 amps can be effective, while thicker materials may require upwards of 130 amps to ensure a strong penetration.

Next, adjusting for the position of your weld is vital. When welding in overhead or vertical positions, you may need to tweak the amperage downward slightly, as these positions can be more challenging. The heat can travel differently, so always aim for a consistent travel speed while monitoring your puddle to ensure you’re achieving the desired joint penetration.

Additionally, consider the type of weld you are making. For stringer beads, which require more precision, a slightly lower amperage might be beneficial. In contrast, for larger fillet welds, increasing the amperage can help maintain a steady temperature and fill the joint effectively.

To achieve optimal results, always clean your base materials before starting and maintain a steady arc length. This ensures that your 7018 electrode delivers the correct heat and consistency needed. practicing on scrap materials can help you fine-tune your settings and develop your skills before tackling the main project.

Pinpointing the best amperage for your 7018 welding rod hinges on factors like material thickness, the welding position, and the type of weld. By keeping these tips in mind, you’ll not only improve your welding technique but also achieve stronger, more dependable welds.

Conclusion

Finding the best amperage for 7018 welding rods is a crucial step toward achieving excellent welding results. As you venture into the world of welding, remember to consider key factors such as material thickness, the position of the weld, and the type of joint you’re working on. Every project presents unique challenges, and tailoring the amperage to match these conditions can significantly enhance the quality of your welds.

Optimizing your technique can make a big difference, too. Maintaining a steady hand, practicing proper electrode angles, and ensuring adequate travel speed can help achieve clean, strong welds. Also, taking the time to prepare your workpieces by cleaning and fitting them properly can mitigate issues that might arise due to incorrect amperage settings.

Experimenting within the recommended amperage range for your 7018 electrodes is key. Don’t hesitate to adjust your settings as you become more familiar with your equipment and materials. The more you weld, the better you’ll understand how each variable affects the outcome.

Ultimately, dedication to practice and a willingness to learn will yield the best results. With the right amperage settings and welding techniques, you can create welds that are not just structurally sound but also visually appealing. Remember, a small adjustment can make a significant difference, so keep fine-tuning your methods and enjoy the process of becoming a proficient welder. Your commitment to mastering the art of welding will pave the way to spectacular results.

Similar Posts