Best Welding Technique for Aluminum and How to Get It Right
Disclosure: This post contains affiliate links. As an Amazon Associate, I earn from qualifying purchases—at no extra cost to you.
Aluminum welding isn’t the same as welding mild steel. It heats up fast, cools quickly, and doesn’t always give you time to react. But if you’re using the right technique—and you’ve got your machine set up properly—you can absolutely get strong, clean welds that hold up and look good too.
Here’s a breakdown of the most reliable aluminum welding techniques, based on welder feedback, real-world use, and what makes the most sense for your shop or garage.
TIG Welding: Precision and Clean Beads for Thin Aluminum
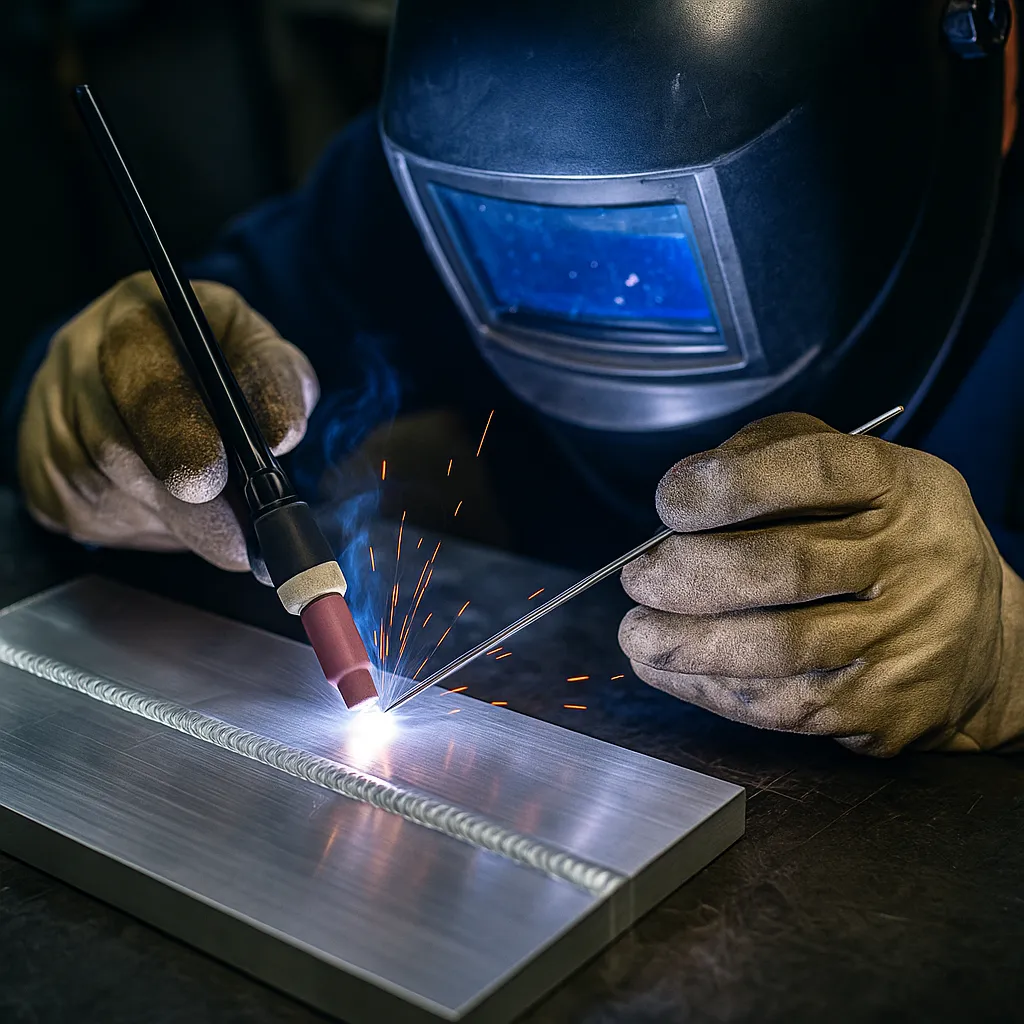
If you care about appearance, control, and quality, TIG welding is a top choice. It’s great for thinner aluminum projects like panels, brackets, and decorative work where clean beads and detail matter.
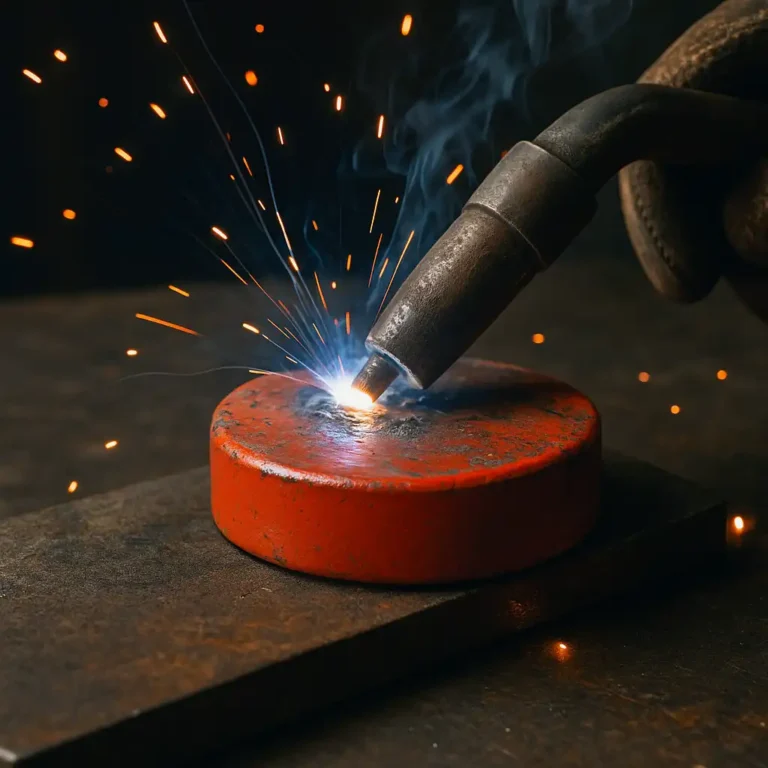
To weld aluminum with TIG, you’ll need AC power, high-frequency start, and 100% argon gas. Most welders recommend using thoriated or ceriated tungsten and brushing your metal with a dedicated stainless steel brush before every pass.
While TIG takes longer to master and runs slower, it’s worth it when quality is a priority. Many welders working on motorcycle tanks, intercooler piping, or aluminum fab jobs say TIG gives them the best results once they’ve practiced.
MIG Welding: A Faster, More Forgiving Option
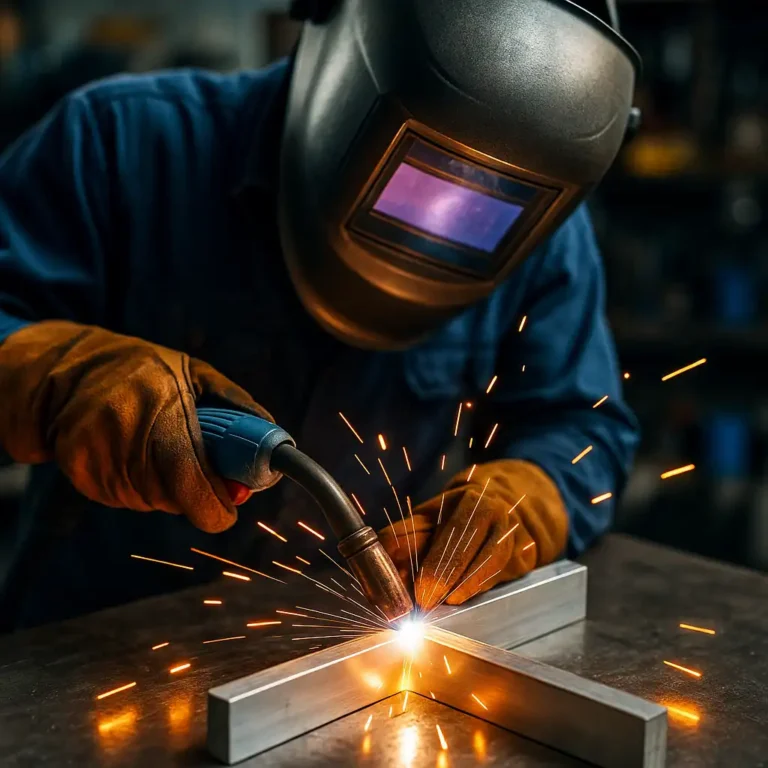
If you’re looking to move quicker or tackle thicker aluminum, MIG with a spool gun is a strong alternative. It’s easier to learn and better for large-scale jobs like trailers, ramps, and shop repairs.
A good setup includes ER4043 or ER5356 wire, pure argon shielding gas, and a welder that can handle a spool gun. You’ll want a 220V machine for solid penetration, especially on anything thicker than 1/8″.
Welders on forums mention that while MIG can leave more spatter and less polished results, it gets the job done fast. For home projects, it’s often the more practical choice if you’re working with thicker material and don’t need perfect beads.
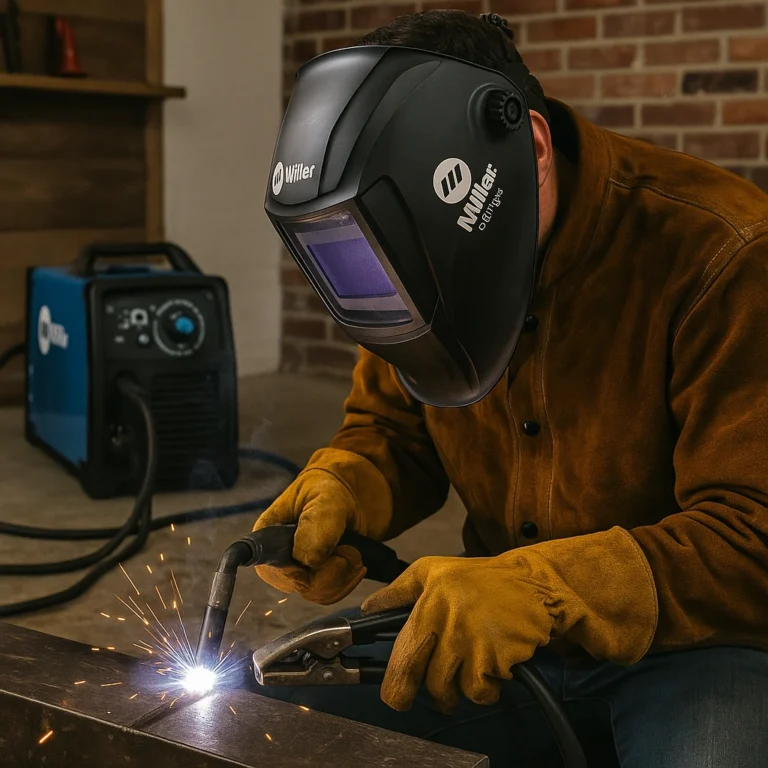
Gear and Setup Matter More Than You Think
No matter which method you use, aluminum demands attention to detail—starting with your machine. TIG requires AC capability and good balance control. MIG needs a quality spool gun to avoid feeding issues and bird-nesting with soft aluminum wire.
Aluminum welding also puts off intense arc light, so invest in a helmet with true-color optics and a reliable auto-darkening lens. It helps reduce eye strain and gives you better puddle visibility.
And don’t skip surface prep. That oxide layer on aluminum melts at a much higher temperature than the base metal itself. A clean wire brush and a quick wipe with acetone before welding go a long way toward better results.
Learning Curve and Practical Use
TIG takes more practice, no doubt. You’re juggling torch control, filler, and foot pedal all at once. But it rewards you with precise welds and is ideal for thinner material or parts that will be visible.
MIG is faster to learn, and many hobbyists working in garages or small shops say it’s perfect for weekend repairs or utility projects. You’ll still need to dial in your voltage and wire speed, but you’ll be laying usable welds in no time.
Most welders agree: if your aluminum is under 1/8″, go TIG. If it’s over 1/8″ or you’re short on time and need solid, no-frills welds, MIG’s probably the better fit.
Conclusion
When it comes to welding aluminum, TIG gives you precision, control, and that pro finish—especially on thin or visible parts. It’s slower and harder to learn, but it pays off in quality.
MIG, on the other hand, is faster and more accessible, especially if you’re using a spool gun. It’s perfect for larger, heavier jobs and everyday repairs where speed and strength matter more than looks.
The best technique really depends on your material, experience, and project type. With the right prep and setup, both TIG and MIG can give you solid results that hold up over time.