Mastering How to Weld Aluminum with a Torch: A Complete Guide
Disclosure: This post contains affiliate links. As an Amazon Associate, I earn from qualifying purchases—at no extra cost to you.
Aluminum can be a tricky metal to weld due to its high thermal conductivity and tendency to oxidize quickly. While many turn to MIG or TIG welding for aluminum, using an oxy-acetylene torch remains a viable and cost-effective option for thin materials and quick repairs. With the right technique and preparation, torch welding aluminum can produce clean and durable results.
Understanding Aluminum’s Properties
Before striking a flame, it’s crucial to understand what makes aluminum unique. Aluminum melts at a lower temperature than steel and lacks the visual cues—like glowing red—that indicate readiness for welding. It also forms an oxide layer that melts at a much higher temperature than the base metal, requiring careful pre-weld cleaning and flux application.
Preparing for Torch Welding Aluminum
Preparation is the key to success when welding aluminum with a torch. Here’s what you’ll need:
- Oxy-acetylene torch: Ensure your torch has a fine flame control for accuracy.
- Aluminum welding rods: Choose rods specifically designed for torch applications.
- Welding flux: Flux removes aluminum oxide and promotes better weld flow.
- Wire brush or stainless steel wool: For cleaning the metal surfaces.
- Protective gear: A proper welding helmet, gloves, and flame-resistant clothing are essential.
Thoroughly clean both the aluminum workpiece and the filler rod using a wire brush or sanding tool. Apply aluminum-specific flux to the joint area right before welding to break up the oxide layer.
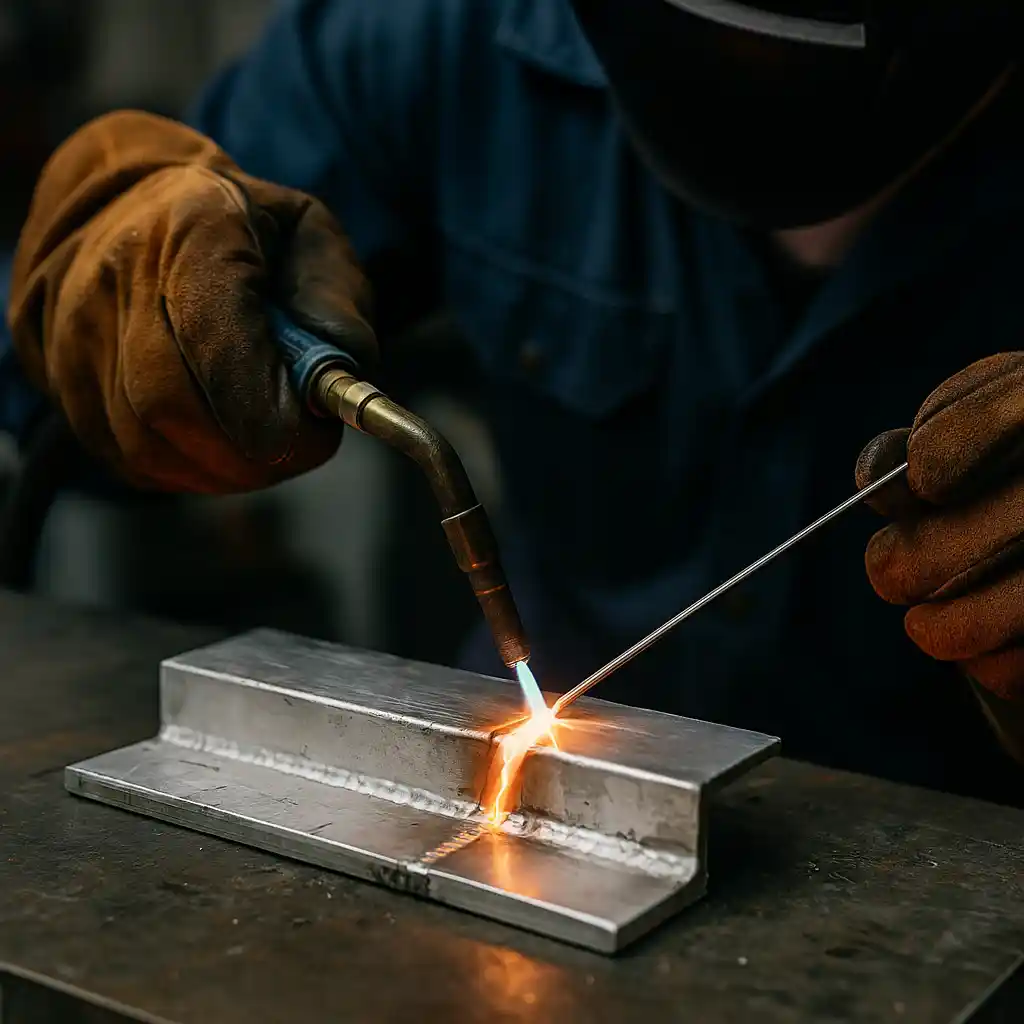
How to Weld Aluminum with a Torch
Set your torch to a neutral flame—a balanced mix of oxygen and acetylene. An oxidizing or carburizing flame can weaken the weld or cause contamination.
- Preheat the metal: Begin heating the joint area in a slow, circular motion to distribute the heat evenly. Be patient—aluminum can go from solid to liquid in an instant.
- Watch for the shimmer: Aluminum won’t glow, but it will begin to shimmer or become glossy when it nears melting point.
- Apply the filler rod: Once the base metal is hot enough, touch the filler rod to the joint. If it beads up instead of flowing, the metal isn’t hot enough.
- Keep the rod in motion: Use short, controlled motions to distribute filler material smoothly across the joint.
- Allow to cool naturally: Avoid rapid cooling, which can stress the weld.
Best Applications for Torch Welding Aluminum
Torch welding aluminum is best suited for:
- Thin sheets and tubing
- Non-structural repairs
- DIY or hobby projects
- Situations without access to MIG or TIG welders
While not ideal for heavy-duty or precision welding, torch welding remains a valuable technique for mobile repairs and smaller fabrication jobs.
Conclusion
Welding aluminum with a torch takes patience and a steady hand, but it’s an accessible technique once mastered. With proper preparation, flux, and filler materials, you can achieve strong, clean welds. This method opens up opportunities for beginners and hobbyists who want to work with aluminum without investing in high-end equipment.