How to Choose a Welding Helmet for Comfort, Fit, and All-Day Safety
Disclosure: This post contains affiliate links. As an Amazon Associate, I earn from qualifying purchases—at no extra cost to you.
Last Updated: January 2026
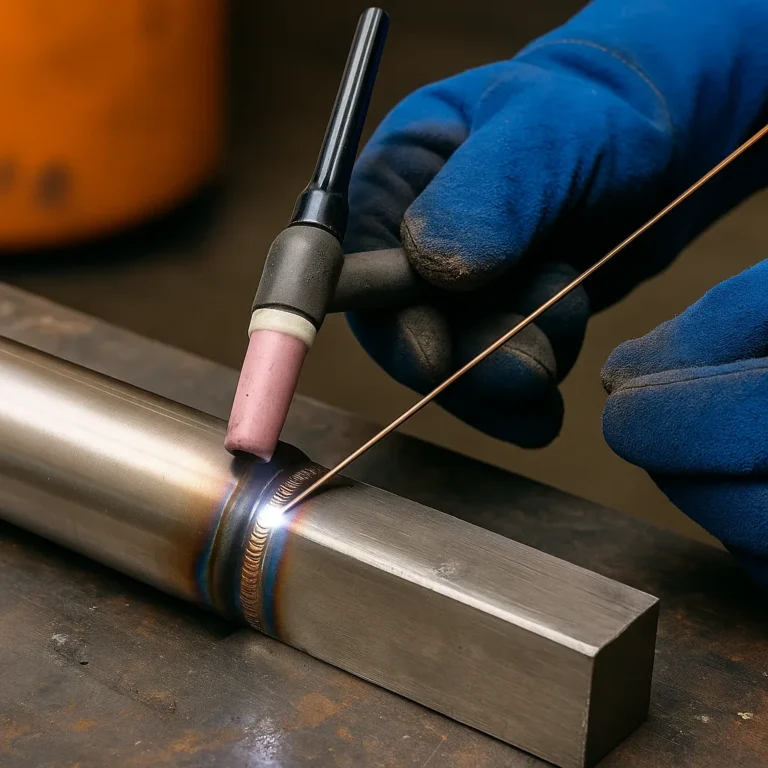
A welding helmet that isn’t adjusted right will wear you out fast. Neck strain, poor visibility, and a helmet that won’t stay where it should usually come down to fit—not the helmet itself. Even a high-quality hood won’t do its job if it’s sitting wrong on your head.
Knowing how to adjust a welding helmet properly makes a real difference in comfort, visibility, and safety. Whether you’re new to welding or you’ve spent years under the hood, a well-fitted helmet lets you focus on the weld instead of constantly fighting your gear.
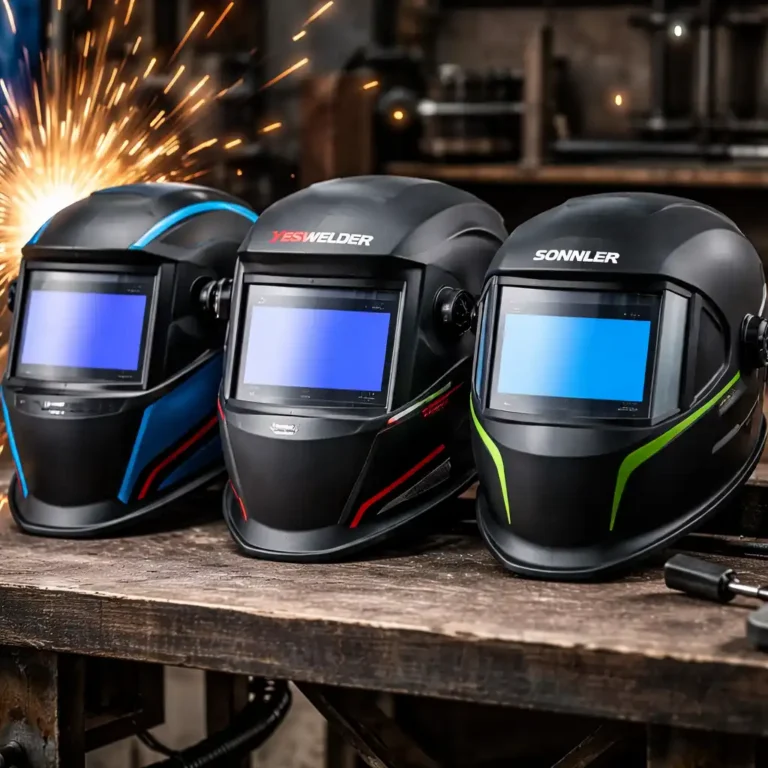
👉 If you’re still choosing a helmet or thinking about upgrading, our guide to Best Welding Helmets: Buying Guide and Top Picks breaks down comfort, features, and fit styles.
🔍 Why Proper Welding Helmet Adjustment Matters
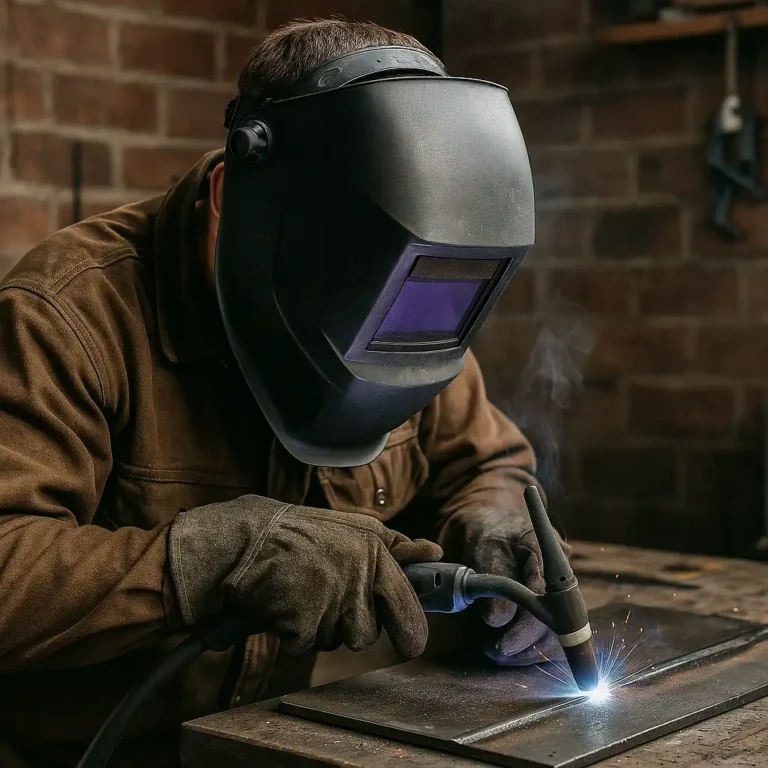
Helmet adjustment affects more than comfort—it affects how you weld. If your helmet doesn’t sit right, your view of the puddle suffers and fatigue sets in quicker than it should.
A helmet that sits too close or too far from your face can throw off depth perception. Poor balance causes the helmet to drop or shift while you’re moving, which breaks focus and adds extra strain to your neck.
When everything is adjusted correctly, the lens lines up naturally with your eyes. The helmet stays put, protection stays consistent, and long welding sessions feel noticeably easier.
🔍 Step-by-Step: How to Adjust a Welding Helmet
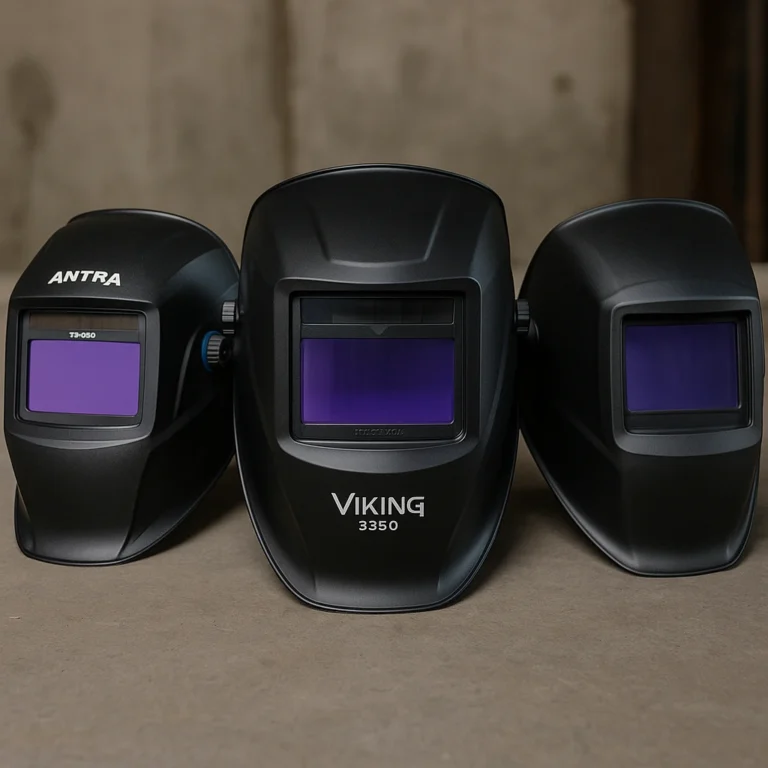
Most modern welding helmets use the same basic adjustment points. Taking a few minutes to dial them in properly saves a lot of frustration later on.
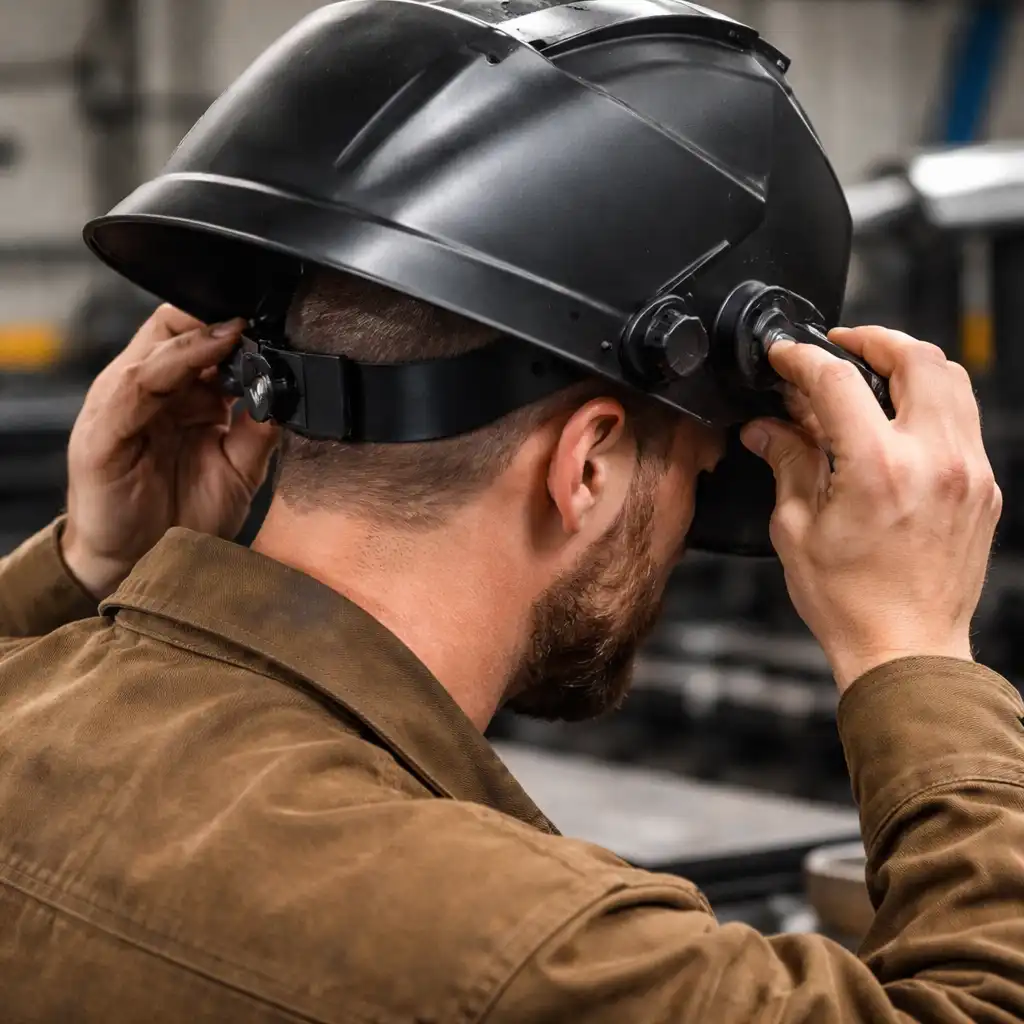
Adjust the Headband Size
Start with the headband. Use the rear dial or strap to tighten or loosen it until the helmet feels secure without squeezing your head. It should stay in place when you nod or turn your head.
If it’s too loose, the helmet will slide around. If it’s too tight, you’ll feel pressure building before you’ve even finished your first weld.
Set the Helmet Height on Your Head
Next, adjust the height so the lens naturally lines up with your eyes. When the helmet is down, your eyes should sit close to the center of the viewing window.
If the helmet rides too low, airflow and visibility take a hit. If it’s too high, you’ll end up tilting your neck just to keep the puddle in view.
Adjust the Tilt Angle
Most helmets allow you to control how far the shell tilts when you lower it. This adjustment determines where the helmet rests while welding.
The helmet should drop smoothly into position and stop at a comfortable viewing angle. If it tips too far forward or back, tweak the tilt until the lens sits squarely in front of your eyes.
Balance the Pivot Tension
The side knobs control how easily the helmet flips up and down. Tighten them enough so the helmet stays up when raised, but still drops smoothly when you pull it down.
If the tension is too loose, the helmet can fall without warning. Too tight, and lowering it mid-job becomes awkward and distracting.
🔍 Fine-Tuning for Comfort During Long Welding Sessions
Once the main adjustments are set, small tweaks can make a big difference over a full workday.
Check that the padding isn’t creating pressure points on your forehead or temples. If your helmet allows headgear arm adjustments, use them to spread the weight evenly instead of letting it sit in one spot.
For long welding sessions, the goal is a helmet that feels stable and almost disappears once you’re focused on the work.
🔍 Common Welding Helmet Adjustment Mistakes
A lot of welders rush helmet setup and end up paying for it later.
Overtightening the headband is one of the most common mistakes and often leads to headaches. Skipping the tilt adjustment forces your neck to do extra work all day. Loose pivot tension causes helmets to drop mid-weld, which is both annoying and unsafe.
Taking a few extra minutes to get everything set correctly helps avoid these problems entirely.
📌 Key Takeaways
- Proper helmet adjustment improves comfort, safety, and visibility
- Headband fit, height, tilt, and balance all matter
- A stable helmet reduces neck strain during long welding sessions
- Small adjustments add up over a full workday
- Even high-quality helmets need correct setup to perform well
🟢 FAQs
Q: How tight should a welding helmet be?
Snug enough to stay in place without creating pressure points or headaches.
Q: Should my eyes be centered in the lens?
Yes. Your eyes should naturally align near the center of the viewing area for the clearest view.
Q: Why does my helmet keep dropping while welding?
That usually means the side pivot tension is set too loose and needs tightening.
Q: Do different welding processes require different helmet adjustments?
The fit stays the same, but shade and sensitivity settings may change between processes.
✅ Conclusion
Knowing how to adjust a welding helmet properly makes welding safer and far more comfortable. A helmet that fits well stays in place, keeps the lens aligned, and reduces fatigue during long sessions. Taking the time to set it up right pays off every time you strike an arc.